Step 1: Prepare the Apples
- Preheat the Oven:
- Preheat your oven to 350°F (175°C).
- Core the Apples:
- Using an apple corer or a sharp knife, remove the core and seeds of the apples, leaving about ½-inch of the base intact so the filling doesn’t leak out.
- Use a spoon to scoop out some of the apple’s flesh to create a larger cavity for the cheesecake filling. Be careful not to puncture the apple’s base.
- Brush and Season the Apples:
- Lightly brush the inside of the apples with lemon juice to prevent browning.
- In a small bowl, mix together the melted butter, cinnamon, and brown sugar. Brush this mixture on the inside and outside of the apples for a caramelized flavor.
Step 2: Make the Cheesecake Filling
- Combine Ingredients:
- In a medium mixing bowl, beat the softened cream cheese until smooth.
- Add the sour cream, sugar, vanilla extract, egg yolk, and a pinch of salt. Beat the mixture until it’s creamy and well-combined.
- Fill the Apples:
- Spoon the cheesecake mixture into the hollowed-out apples, filling each about ¾ of the way full to leave room for the topping.
Step 3: Prepare the Crumble Topping
- Make the Crumble:
- In a small bowl, mix together the flour, brown sugar, and cinnamon.
- Add the cold butter cubes and use your fingers or a fork to crumble the mixture until it resembles coarse crumbs.
- Stir in the rolled oats (if using) for added texture.
- Top the Apples:
- Generously sprinkle the crumble mixture over the cheesecake filling in each apple, pressing down lightly so it adheres.
Step 4: Bake the Apples
- Bake:
- Place the stuffed apples in a baking dish and cover them loosely with aluminum foil.
- Bake in the preheated oven for 25-30 minutes, then remove the foil and bake for an additional 10-15 minutes, or until the apples are tender and the crumble is golden brown.
- Cool Slightly:
- Allow the apples to cool for 5-10 minutes before serving. This will allow the cheesecake filling to set a bit.
Step 5: Serve
- Optional Toppings:
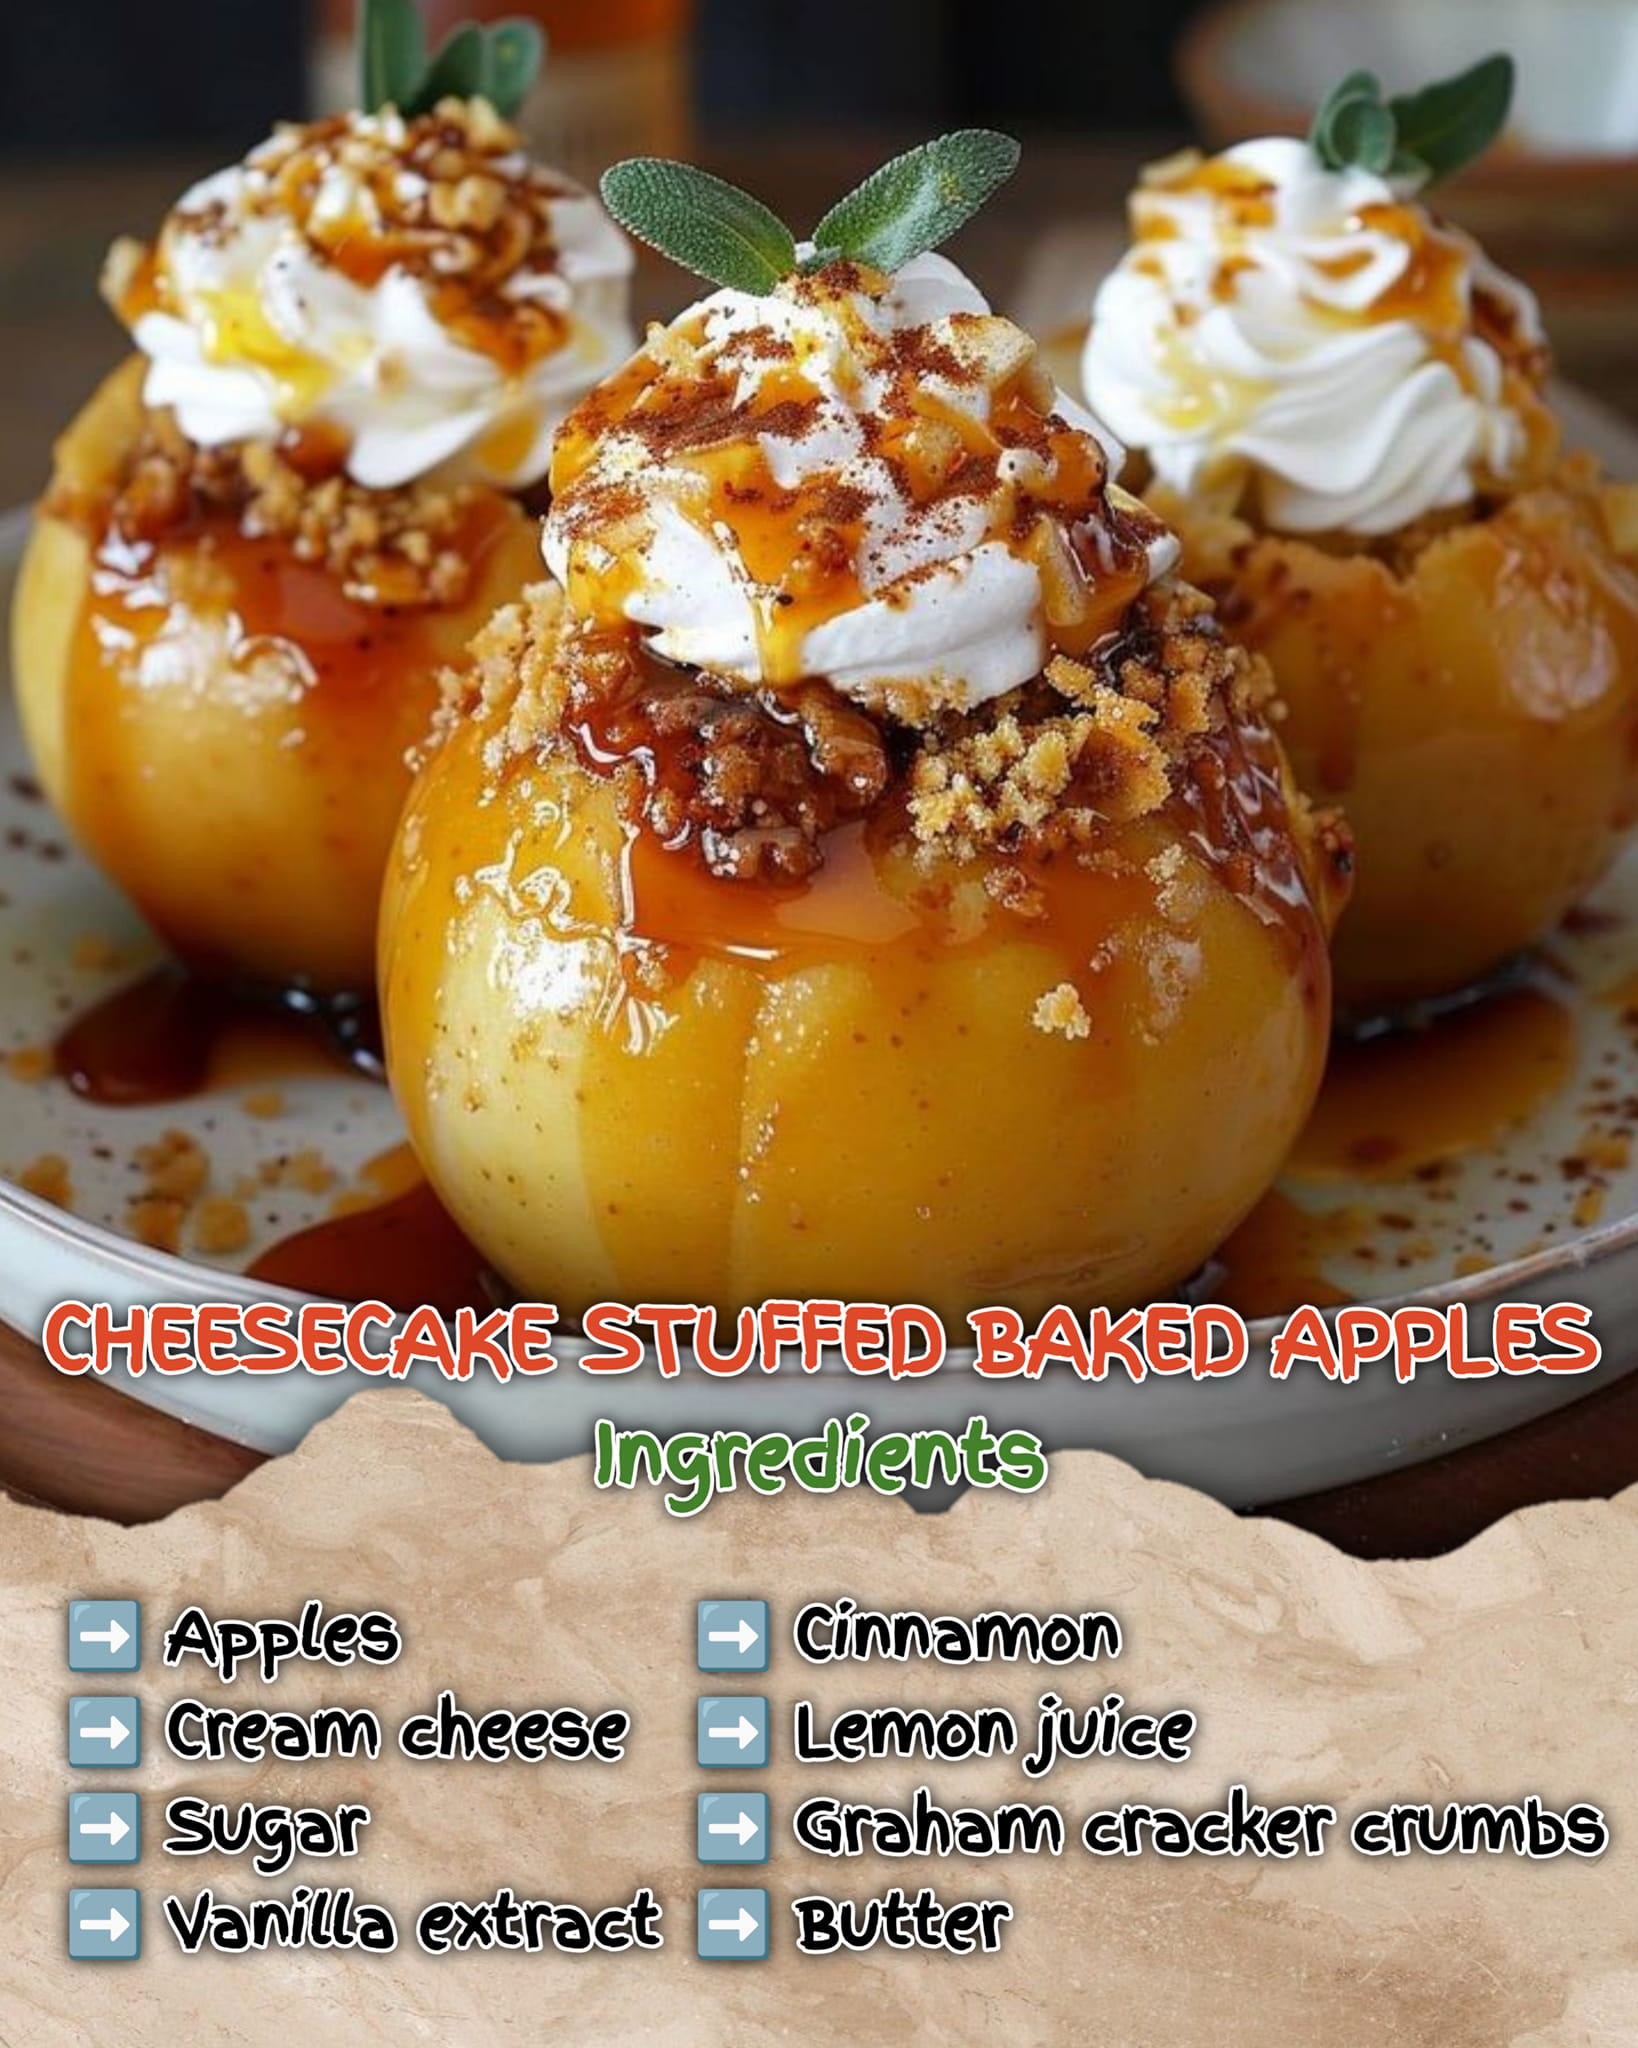
- Drizzle the baked apples with caramel sauce for an extra touch of sweetness.
- Add a dollop of whipped cream or a scoop of vanilla ice cream for a complete dessert experience.
Tips for Success:
- Apple Variety:
- Choose apples that hold their shape when baked, such as Honeycrisp or Granny Smith. Softer apples like McIntosh might collapse during baking.
- Avoid Overfilling:
- Make sure to leave a little room at the top of the apple after adding the cheesecake filling so the crumble topping can sit neatly on top.
- Adjust Baking Time:
- Depending on the size of your apples, the baking time might vary. Check the apples by poking them with a knife or fork; they should be tender but not mushy.
- Make-Ahead Option:
- You can prepare the apples and cheesecake filling a day in advance. Store the filled apples in the refrigerator, covered with plastic wrap, and add the crumble just before baking.
Why You’ll Love This Recipe:
- Perfectly Balanced Flavors:
- The tartness of the baked apple contrasts beautifully with the rich, creamy cheesecake filling, while the buttery crumble adds the perfect crunch.
- Warm and Cozy Dessert:
- This is the ultimate autumn dessert, offering warmth and comfort in every bite. It’s like apple pie and cheesecake combined!
- Versatile Serving Options:
- These stuffed baked apples are elegant enough for a dinner party, yet simple enough to make for a family dessert.
Whether you’re looking to impress guests or treat yourself, these Cheesecake Stuffed Baked Apples are the perfect way to celebrate fall’s bounty. Every bite is a blend of tender apples, creamy cheesecake, and crunchy crumble topping—delicious and unforgettable!
