1. Prepare the Milk
Begin by pouring the gallon of milk into the large stainless steel pot. Place the pot on the stove and gently heat the milk to 55°F (13°C), stirring occasionally to ensure even heating. Once the milk reaches the desired temperature, remove the pot from the heat.
2. Add Citric Acid
Pour the dissolved citric acid solution into the warmed milk. Stir the mixture gently for about 30 seconds to distribute the citric acid evenly. The citric acid helps to acidify the milk, which is essential for proper curd formation.
3. Heat the Milk
Return the pot to the stove and continue to heat the milk, stirring occasionally, until it reaches 90°F (32°C). At this temperature, the milk will start to curdle.
4. Add Rennet
Remove the pot from the heat and gently stir in the diluted rennet solution using an up-and-down motion. Cover the pot and let it sit undisturbed for 5-10 minutes. During this time, the milk will coagulate and form a gelatinous curd.
5. Check the Curds
After the resting period, check the curds for a clean break. This means the curds should separate easily when you insert a knife into the curd and lift gently. If the curds are too soft, let them sit for a few more minutes.
6. Cut the Curds
Once the curds are ready, cut them into 1/2-inch cubes using a long knife. Make sure to cut all the way to the bottom of the pot. This helps to release the whey and allows for even cooking of the curds.
7. Cook the Curds
Place the pot back on the stove and heat the curds to 105°F (40°C) while stirring gently. This process helps to firm up the curds. Once the curds reach the desired temperature, remove the pot from the heat and let the curds rest for 5 minutes.
8. Separate the Whey
Using a slotted spoon, carefully transfer the curds to a colander lined with cheesecloth. Allow the whey to drain off for a few minutes. You can save the whey for other uses, such as making ricotta or baking.
9. Heat and Stretch the Curds
Place the curds in a microwave-safe bowl and microwave on high for 1 minute. Wearing rubber gloves, gently knead and stretch the curds. If the curds are not stretchy enough, microwave for another 30 seconds and continue stretching. Repeat this process until the curds are smooth and elastic.
10. Add Salt
Sprinkle the salt over the curds and continue to knead and stretch until the salt is well incorporated. The salt enhances the flavor and helps to preserve the cheese.
11. Form the Mozzarella
Shape the mozzarella into a ball or log, depending on your preference. You can also form smaller bocconcini balls if desired. Place the formed cheese in a bowl of ice water for a few minutes to cool and set the shape.
12. Enjoy Your Homemade Mozzarella
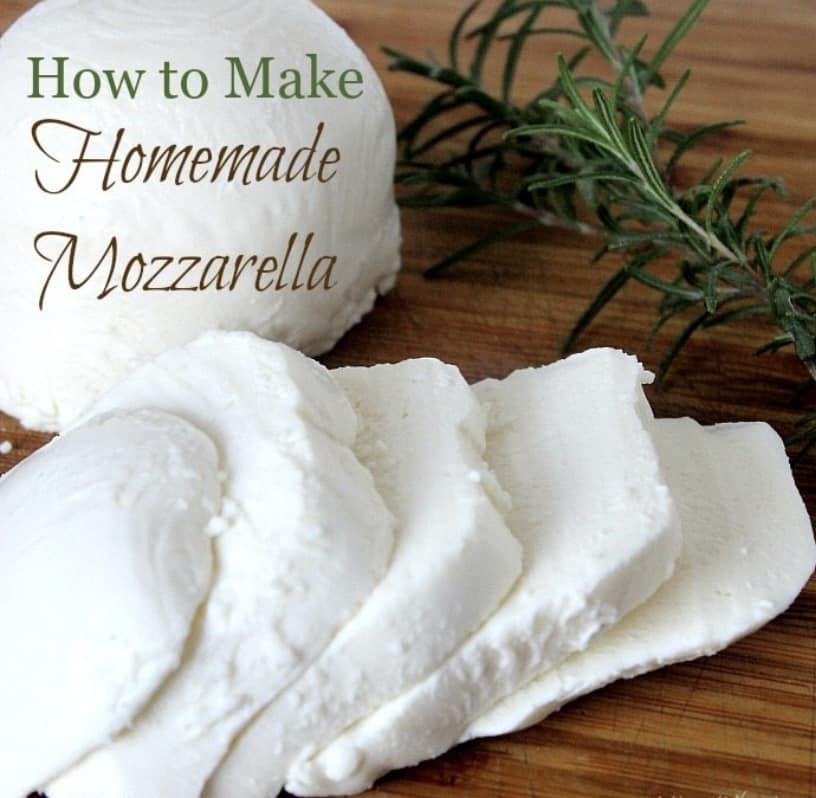
Your homemade mozzarella is now ready to enjoy! You can eat it fresh, slice it for salads and sandwiches, or use it in your favorite recipes. Store any leftovers in the refrigerator in a brine solution (1 teaspoon of salt dissolved in 1 cup of water) to keep it moist.
Tips for Success
- Use Fresh Ingredients: The quality of your milk and other ingredients will greatly affect the final product.
- Temperature Control: Accurate temperature control is crucial for proper curd formation and texture.
- Patience: Allowing the curds to rest and drain properly ensures a better texture and flavor.
- Practice Makes Perfect: Don’t be discouraged if your first batch isn’t perfect. Cheese-making is an art that improves with practice.
Variations and Flavor Additions
Once you’re comfortable with the basic process, feel free to experiment with different variations and flavor additions:
- Herbed Mozzarella: Add chopped fresh herbs, such as basil or oregano, during the stretching phase.
- Smoked Mozzarella: Use a smoker or liquid smoke to impart a smoky flavor to your cheese.
- Spicy Mozzarella: Incorporate red pepper flakes or finely chopped jalapeños for a spicy kick.
Conclusion
Making homemade mozzarella cheese is a rewarding and enjoyable experience that allows you to create a fresh, high-quality product tailored to your taste. By following this detailed guide, you’ll be able to produce delicious mozzarella cheese that will impress your family and friends. Enjoy the process, and happy cheese-making!
