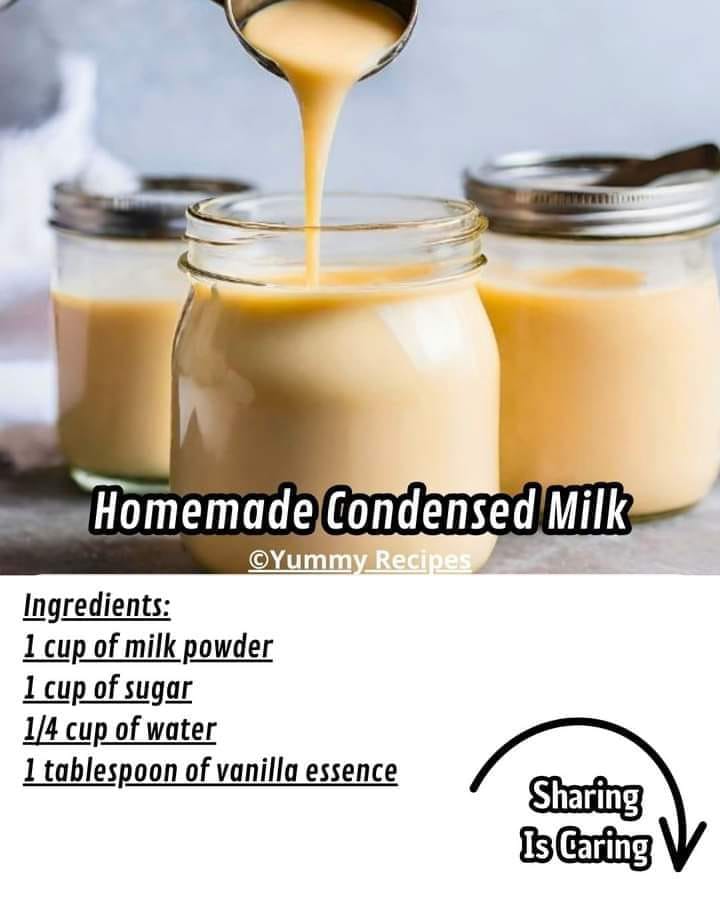
- Add Butter and Vanilla:
- Remove the saucepan from heat.
- Stir in the unsalted butter until completely melted and combined.
- If using, add the vanilla extract and mix well.
- Cool the Condensed Milk:
- Allow the condensed milk to cool slightly in the saucepan.
- Pour it into a clean, airtight container.
Chapter 5: Storage
- Refrigeration:
- Store the homemade condensed milk in the refrigerator.
- It will keep for up to 2 weeks.
- Freezing:
- For longer storage, you can freeze the condensed milk in a freezer-safe container.
- Thaw it in the refrigerator before using.
Chapter 6: Tips for Success
- Constant Stirring: Stir the mixture frequently to prevent it from burning and sticking to the bottom of the saucepan.
- Low Heat: Keep the heat on medium-low during the reducing process to avoid scalding the milk.
- Quality Ingredients: Use whole milk and granulated sugar for the best texture and flavor.
- Consistency Check: Make sure the condensed milk reaches the desired thick, syrupy consistency before removing it from the heat.
- Flavor Variations: You can experiment with different extracts, like almond or coconut, to add unique flavors to your condensed milk.
Chapter 7: Uses for Homemade Condensed Milk
- Baking:
- Use in recipes like cakes, cookies, and bars that call for condensed milk.
- Desserts:
- Make classic desserts like flan, fudge, and key lime pie.
- Coffee and Tea:
- Add a spoonful to your coffee or tea for a sweet, creamy treat.
- Ice Cream:
- Incorporate it into homemade ice cream for a rich, smooth texture.
- Caramel Sauce:
- Use it as a base for homemade caramel sauce.
Conclusion
Making homemade condensed milk is a simple and rewarding process that yields a versatile and delicious product. With just a few basic ingredients and a bit of patience, you can create a rich, creamy condensed milk that can be used in a variety of recipes. Enjoy the process and the sweet results! Happy cooking!
