1. Prepare the Choux Pastry:
- Preheat Oven: Preheat your oven to 400°F (200°C). Line a baking sheet with parchment paper or a silicone baking mat.
- Make the Dough: In a medium saucepan, combine water, milk, butter, sugar, and salt. Bring to a boil over medium heat.
- Add Flour: Once boiling, add the flour all at once and stir vigorously with a wooden spoon until the mixture forms a ball and pulls away from the sides of the pan.
- Cool: Remove from heat and let cool for 5 minutes.
- Add Eggs: Add eggs one at a time, beating well after each addition until smooth and glossy. The dough should be thick but smooth enough to pipe.
- Pipe the Éclairs: Transfer the dough to a piping bag fitted with a large round tip (or a ziplock bag with a corner snipped off). Pipe 4-inch long strips onto the prepared baking sheet, spacing them about 2 inches apart.
- Bake: Bake in preheated oven for 15 minutes, then reduce the oven temperature to 350°F (175°C) and bake for an additional 20-25 minutes, or until golden brown and puffed.
- Cool: Remove from the oven and pierce each éclair with a skewer or toothpick to release steam. Transfer to a wire rack to cool completely.
2. Prepare the Filling:
- Heat Milk: In a medium saucepan, heat the milk until steaming but not boiling.
- Whisk Egg Yolks: In a bowl, whisk together egg yolks, sugar, and cornstarch until smooth and pale.
- Temper the Eggs: Gradually whisk the hot milk into the egg mixture. Return the mixture to the saucepan and cook over medium heat, stirring constantly, until it thickens and comes to a boil.
- Cool and Add Vanilla: Remove from heat, stir in vanilla extract, and transfer to a bowl. Cover with plastic wrap, pressing it directly onto the surface of the custard to prevent a skin from forming. Chill in the refrigerator until cold.
- Whip Cream: In a separate bowl, whip the heavy cream until stiff peaks form. Gently fold the whipped cream into the chilled custard until smooth and well combined. Transfer to a piping bag fitted with a small round tip.
3. Fill the Éclairs:
- Prepare Éclairs: Once the éclairs are completely cooled, use a small knife or pastry tip to make a small hole in the bottom of each éclair.
- Pipe Filling: Insert the piping tip into each éclair and gently squeeze to fill with the custard filling.
4. Prepare the Chocolate Glaze:
- Heat Cream: In a small saucepan, heat the heavy cream until steaming but not boiling.
- Melt Chocolate: Place the chopped chocolate in a heatproof bowl. Pour the hot cream over the chocolate and let it sit for 1-2 minutes. Stir gently until the chocolate is completely melted and smooth.
- Add Butter and Corn Syrup: Stir in the butter and corn syrup (if using) until incorporated and the glaze is shiny.
5. Glaze the Éclairs:
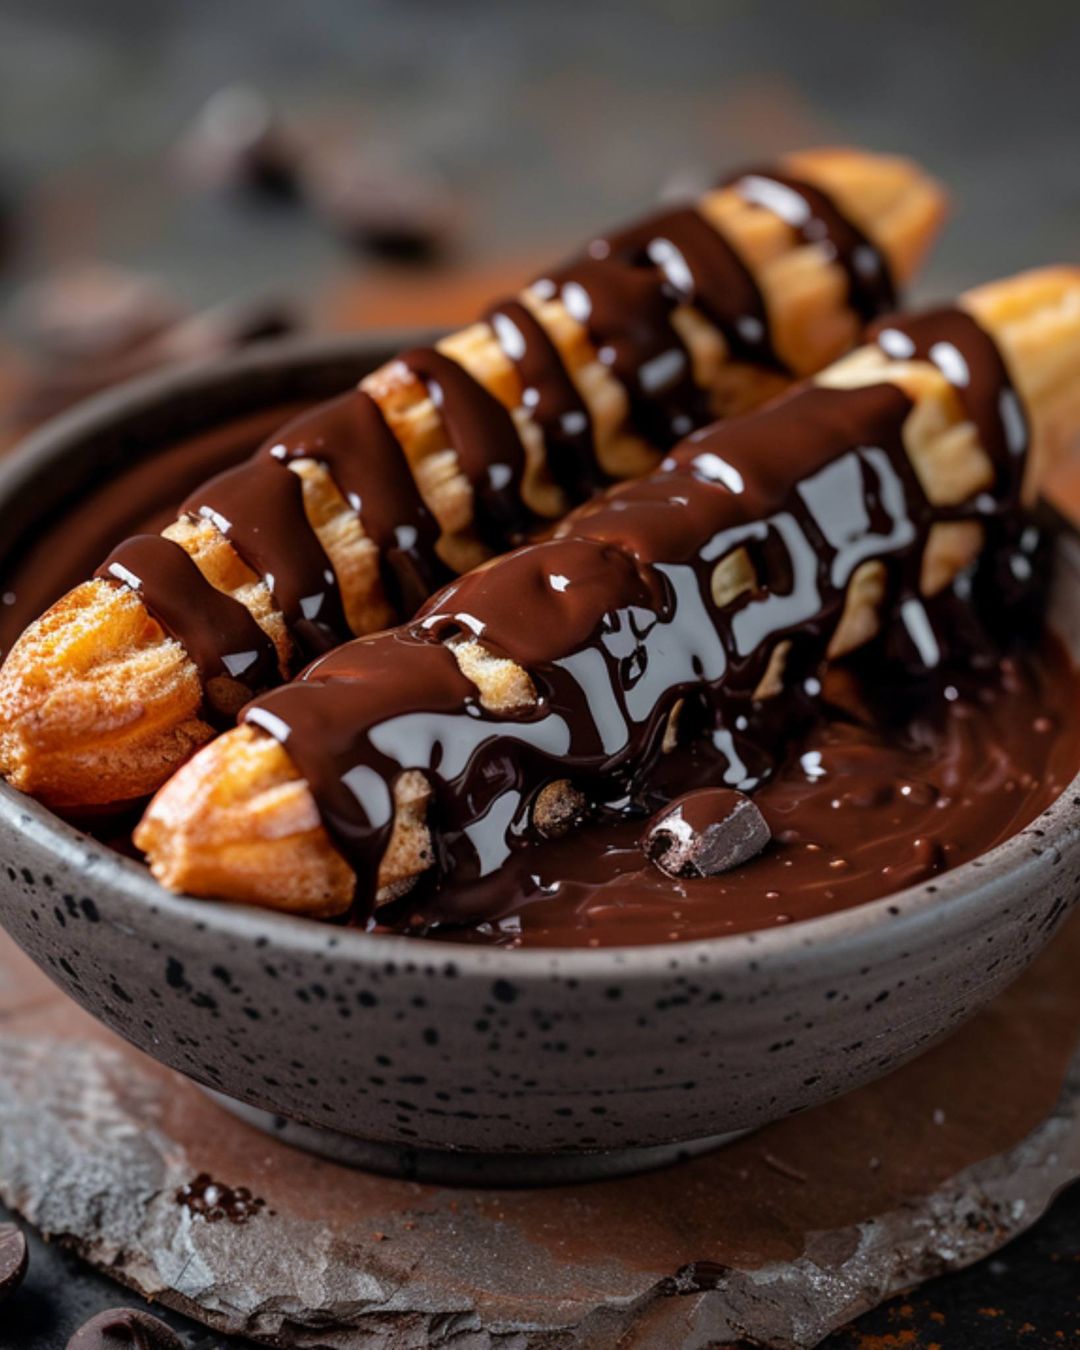
- Dip Éclairs: Dip the top of each filled éclair into the chocolate glaze, allowing any excess to drip off.
- Chill: Place the glazed éclairs on a wire rack set over a baking sheet to catch drips. Chill in the refrigerator for 15-20 minutes to set the glaze.
6. Serve and Enjoy:
- Once the glaze is set, transfer the éclairs to a serving platter. Serve chilled or at room temperature. Enjoy these decadent chocolate éclairs as a delightful dessert!
Tips for Success:
- Consistency: Ensure the choux pastry dough is smooth and pipeable to achieve evenly shaped éclairs.
- Chilling: Properly chill the custard filling before piping into the éclairs to prevent it from oozing out.
- Glazing: Work quickly when dipping the éclairs into the chocolate glaze to achieve a smooth finish.
Variations:
- Flavor Variations: Experiment with different flavors by adding extracts like almond or orange to the custard filling.
- Decoration: Sprinkle chopped nuts, chocolate shavings, or powdered sugar over the glazed éclairs for added texture and visual appeal.
These decadent chocolate éclairs are sure to impress with their creamy filling, crisp pastry, and rich chocolate glaze. Enjoy making and savoring these delightful treats!