Customize Consent Preferences

We use cookies to help you navigate efficiently and perform certain functions. You will find detailed information about all cookies under each consent category below.

The cookies that are categorized as "Necessary" are stored on your browser as they are essential for enabling the basic functionalities of the site. ... 

Always Active

Necessary cookies are required to enable the basic features of this site, such as providing secure log-in or adjusting your consent preferences. These cookies do not store any personally identifiable data.

No cookies to display.

Functional cookies help perform certain functionalities like sharing the content of the website on social media platforms, collecting feedback, and other third-party features.

No cookies to display.

Analytical cookies are used to understand how visitors interact with the website. These cookies help provide information on metrics such as the number of visitors, bounce rate, traffic source, etc.

No cookies to display.

Performance cookies are used to understand and analyze the key performance indexes of the website which helps in delivering a better user experience for the visitors.

No cookies to display.

Advertisement cookies are used to provide visitors with customized advertisements based on the pages you visited previously and to analyze the effectiveness of the ad campaigns.

No cookies to display.

Irresistible Gelato al Pistacchio

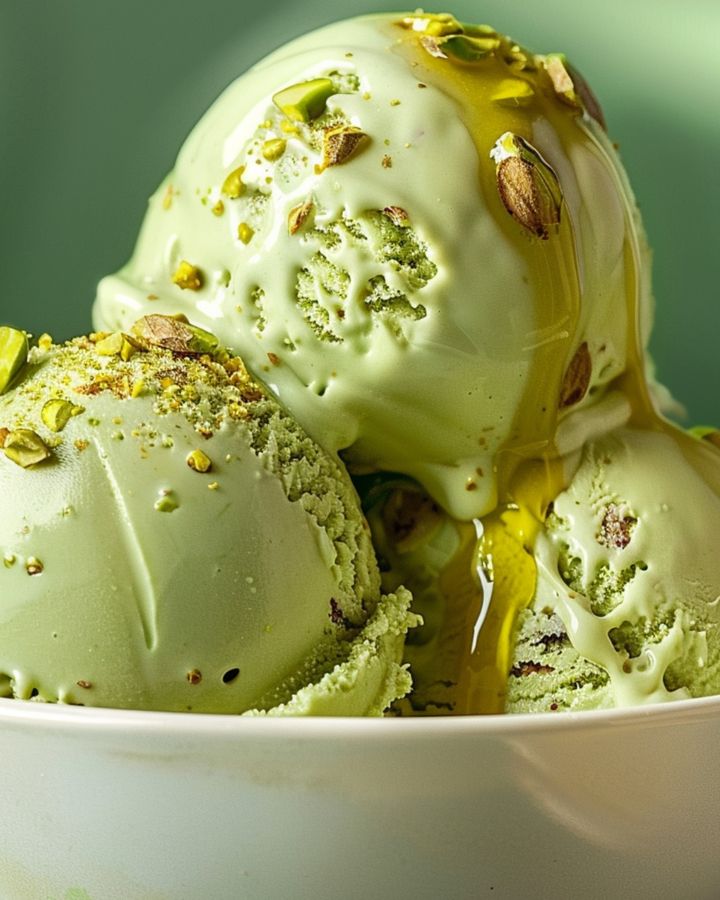
Welcome to our guide on making Irresistible Gelato al Pistacchio. This classic Italian dessert is known for its creamy texture and rich, nutty flavor, making it a perfect treat for any occasion. Let’s get started with this delightful and authentic recipe!

Ingredients

To prepare Gelato al Pistacchio, you’ll need the following ingredients:

  • 1 cup shelled pistachios, unsalted
  • 1 1/2 cups whole milk
  • 1/2 cup heavy cream
  • 3/4 cup granulated sugar
  • 4 large egg yolks
  • 1 teaspoon vanilla extract
  • A pinch of salt
  • A few drops of green food coloring (optional, for color)

Step-by-Step Instructions

Prev1 of 2

Leave a Comment