1. Prepare the Crust
- In a large mixing bowl, combine the graham cracker crumbs, melted butter, and granulated sugar. Mix until the crumbs are evenly coated and the mixture resembles wet sand.
- Press the crumb mixture into the bottom of a 9×13-inch baking dish, ensuring it is evenly distributed and firmly packed.
- Place the crust in the refrigerator to set while you prepare the cheesecake layer.
2. Prepare the Cheesecake Layer
- In a large mixing bowl, beat the softened cream cheese until smooth and creamy using an electric mixer or stand mixer.
- Gradually add the powdered sugar and vanilla extract, beating until well combined and fluffy.
- In a separate bowl, whip the heavy cream until stiff peaks form.
- Gently fold the whipped cream into the cream cheese mixture using a rubber spatula. Fold until well combined and no streaks remain.
- Spread the cheesecake mixture evenly over the prepared crust, smoothing the top with a spatula.
- Refrigerate the cheesecake layer for at least 1 hour to allow it to set.
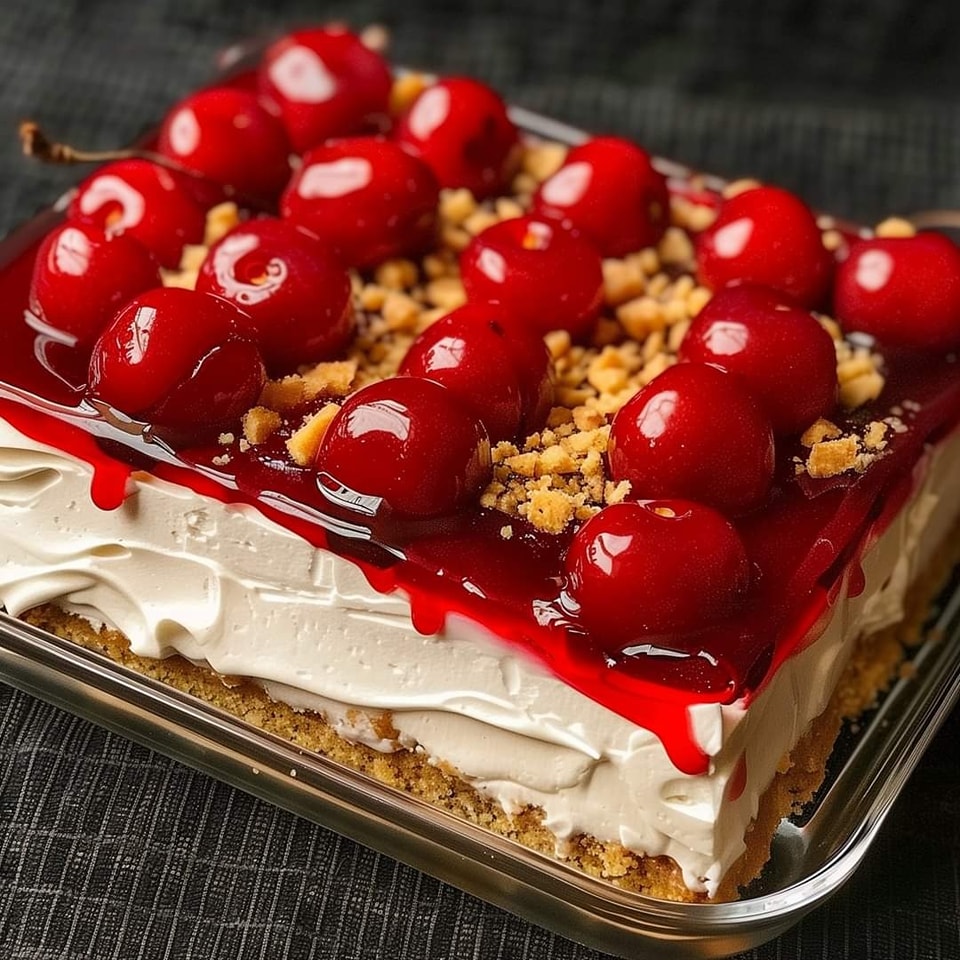
3. Add the Cherry Topping
- Once the cheesecake layer has set, spread the cherry pie filling evenly over the top.
4. Prepare the Whipped Topping
- In a large mixing bowl, whip the heavy cream with the powdered sugar and vanilla extract until stiff peaks form.
- Spread the whipped topping over the cherry layer, smoothing it out with a spatula.
5. Garnish and Chill
- Garnish with fresh cherries, grated chocolate, or chopped nuts if desired.
- Refrigerate the Cherry Cheesecake Lush for at least 2 hours, preferably overnight, to allow the layers to meld together.
Serving Suggestions
Cherry Cheesecake Lush can be served on its own or with a variety of accompaniments:
- Fresh Fruit: Serve with additional fresh fruit, such as berries or kiwi, for a burst of color and flavor.
- Mint Leaves: Garnish with fresh mint leaves for a touch of elegance and a refreshing contrast.
- Chocolate Drizzle: Drizzle melted chocolate over the top for a decadent touch.
Nutritional Benefits
While Cherry Cheesecake Lush is an indulgent treat, it can be enjoyed as part of a balanced diet when eaten in moderation:
- Calcium: The cream cheese and whipped cream provide a good source of calcium, essential for bone health.
- Vitamins: Cherries are rich in vitamins A and C, which support skin health and immune function.
Tips and Tricks
- Room Temperature Ingredients: Ensure the cream cheese is softened to room temperature for easier mixing and a smoother texture.
- Chill Thoroughly: Allow the dessert to chill thoroughly to achieve the best texture and flavor.
- Customization: Feel free to experiment with different fruits, such as strawberries, blueberries, or peaches, for the topping.
Frequently Asked Questions
1. Can I use a different type of crust?
Yes, you can use a different type of crust such as a vanilla wafer crust or an Oreo cookie crust for added flavor.
2. How do I store leftovers?
Store any leftover Cherry Cheesecake Lush in an airtight container in the refrigerator for up to 3 days.
3. Can I make this dessert ahead of time?
Yes, Cherry Cheesecake Lush can be made a day in advance. In fact, allowing it to chill overnight enhances the flavors and texture.
Conclusion: The Joy of Making Cherry Cheesecake Lush
Preparing Cherry Cheesecake Lush is a rewarding experience that combines simplicity, flavor, and elegance. This versatile dessert allows you to experiment with different ingredients and customize it to your liking. Whether you’re making it for yourself, your family, or entertaining guests, Cherry Cheesecake Lush is sure to impress and satisfy.
By following this comprehensive guide, you now have all the knowledge and tips needed to create a delicious and creamy dessert. Enjoy the process, savor the flavors, and relish the satisfaction of a well-made treat.
Key Takeaway: Cherry Cheesecake Lush is a creamy, fruity, and refreshing no-bake dessert that combines the rich flavors of cheesecake with the sweetness of cherries. It can be easily customized and is perfect for any occasion. Give this delightful recipe a try and experience the joy of making and savoring a homemade dessert.