- Warm the water: Begin by heating 1 cup of water in the microwave or on the stovetop until it’s warm, not hot. It should feel warm to the touch but not scalding. The ideal temperature is around 110°F (43°C).
- Add sugar and yeast: Stir in 1 tablespoon of sugar to the warm water, then sprinkle the yeast over the top. Stir gently to combine, then let the mixture sit for 5-10 minutes until it becomes frothy. If it doesn’t foam, the yeast may be expired, and you should try with a new packet.
Step 2: Mix the Dough
- Combine the dry ingredients: In a large mixing bowl, combine 3 cups of flour and 1 teaspoon of salt. Mix them together with a wooden spoon.
- Add wet ingredients: Once the yeast is activated and frothy, pour it into the flour mixture. Add 2 tablespoons of olive oil (or melted butter) and 1/4 cup of milk. Stir the mixture with the wooden spoon until a shaggy dough forms. If the dough feels too sticky, add a little more flour, one tablespoon at a time.
Step 3: Knead the Dough
- Turn the dough onto a floured surface: Once the dough has come together, transfer it onto a lightly floured surface.
- Knead: Knead the dough for about 8-10 minutes, until it becomes smooth and elastic. You can add a little flour to your hands or the surface if the dough is too sticky, but be careful not to add too much flour, as it will make the bread dense.
- Alternative method: If you have a stand mixer with a dough hook attachment, you can knead the dough on low speed for about 5-7 minutes until it’s smooth.
Step 4: Let the Dough Rise
- First rise: Shape the dough into a ball and place it back into the mixing bowl. Cover the bowl with a clean towel or plastic wrap. Let the dough rise in a warm place for about 1 to 1.5 hours, or until it has doubled in size. This process allows the yeast to work its magic and create a fluffy, airy texture.
Step 5: Shape and Second Rise
- Punch down the dough: After the dough has risen, punch it down gently to release any air bubbles. Transfer it onto a floured surface and shape it into a loaf by folding the edges toward the center, then rolling it tightly.
- Place in the pan: Place the shaped dough into a greased loaf pan (8×4 or 9×5 inches). Cover the pan with a towel or plastic wrap and let the dough rise for another 30-45 minutes, or until it has risen just above the edges of the pan.
Step 6: Preheat the Oven
While the dough is going through its second rise, preheat your oven to 375°F (190°C).
Step 7: Bake the Bread
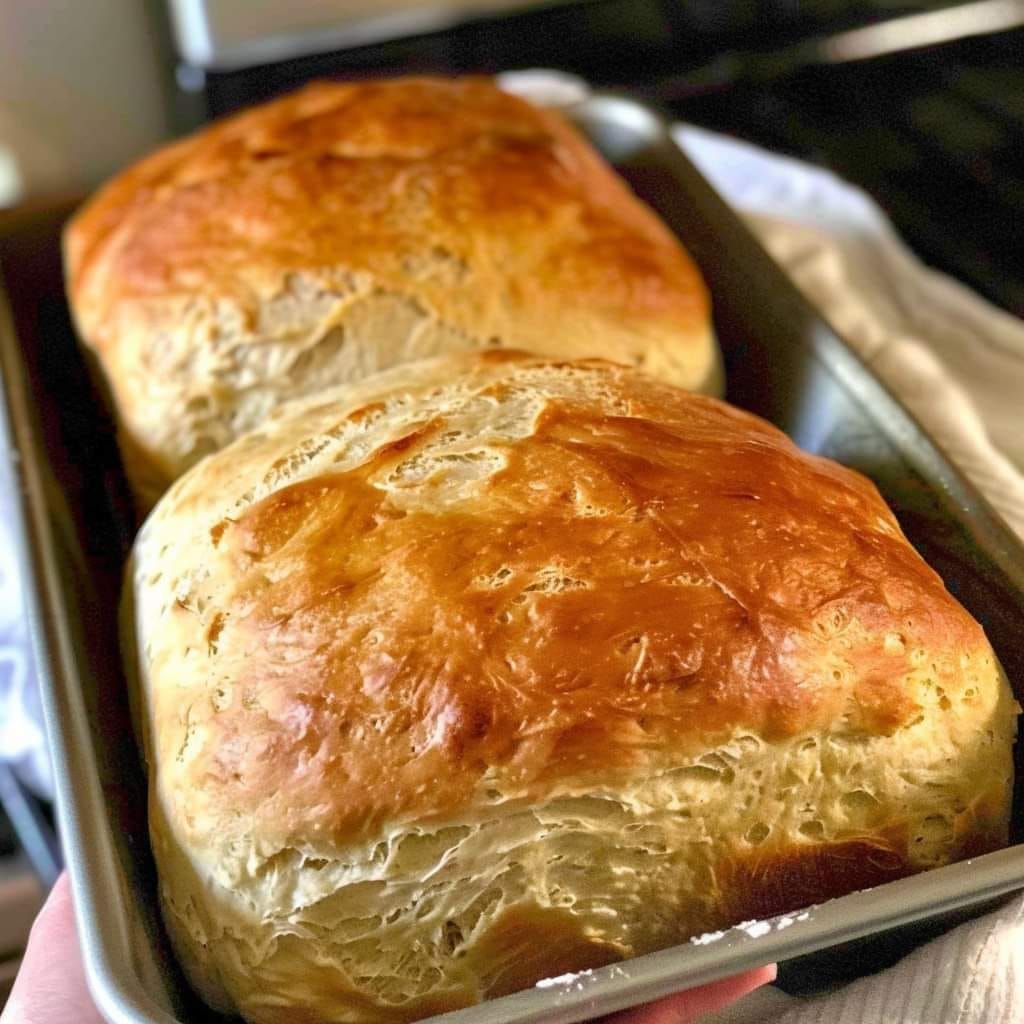
- Optional egg wash: If you’d like a golden, glossy crust, whisk 1 egg and brush it over the top of the dough before baking.
- Bake: Place the loaf pan in the oven and bake for about 30-35 minutes, or until the top is golden brown, and the bread sounds hollow when tapped on the bottom. If you’re unsure, you can use a thermometer to check for an internal temperature of about 190°F (88°C).
Step 8: Cool the Bread
- Remove from the oven: Once the bread is baked, take it out of the oven and let it cool in the pan for about 10 minutes.
- Transfer to a wire rack: After the initial cooling, remove the bread from the loaf pan and place it on a wire rack to cool completely. This will help prevent the bottom from becoming soggy.
Step 9: Slice and Serve
Once the bread has cooled, slice it into thick, soft slices. It’s perfect for serving with butter, jam, or even using it for sandwiches.
Tips for Success:
- Temperature matters: Ensure your water is warm, not hot, when activating the yeast. Too hot, and it could kill the yeast, leaving your bread dense.
- Don’t rush the rise: Allowing the dough to rise fully is key to achieving a fluffy loaf. If you’re in a hurry, find a warm spot for the dough to rise, like near a preheating oven.
- Flour is important: Use the right amount of flour to avoid a dense loaf. Too much flour will lead to a dry loaf, while too little will make it sticky and hard to knead.
- Experiment with flavors: Once you’re comfortable with the basic recipe, try adding herbs, garlic, or even cheese to the dough for an extra flavor kick.
Conclusion
This Easy Homemade Bread recipe is perfect for beginners and seasoned bakers alike. With just a few ingredients and simple steps, you can create soft, fluffy, and aromatic bread that’s perfect for any occasion. Whether you’re using it for sandwiches, as a side to a soup, or simply enjoying it with a pat of butter, this bread will quickly become a household favorite. Enjoy the process, and don’t forget to savor each delicious bite!
