This colorful and crispy layer sets the stage for the fruity crunch in the treat.
- Combine the base ingredients: In a mixing bowl, combine the Fruity Pebbles cereal, peanut butter, and honey (if using). Stir them together until the cereal is fully coated with the peanut butter and honey mixture.
- Press into the pan: Line an 8×8-inch baking dish with parchment paper. Pour the Fruity Pebbles mixture into the dish and press it down evenly with the back of a spoon or spatula. The goal is to create a firm and smooth base that will hold the Snickers layer on top.
Step 2: Prepare the Snickers Layer
This is where the Snickers-inspired flavors really start to shine, with a mix of peanuts, marshmallows, and peanut butter.
- Melt the marshmallows and peanut butter: In a microwave-safe bowl, add the mini marshmallows and peanut butter. Microwave in 30-second intervals, stirring in between, until the mixture is smooth and fully melted. This should take about 1-2 minutes.
- Add peanuts and caramel: Stir in the peanuts and caramel sauce until they’re evenly mixed in the melted marshmallow mixture. The caramel adds sweetness and a chewy texture that mimics the gooey inside of a Snickers bar.
- Spread over the base: Pour the peanut, marshmallow, and caramel mixture over the Fruity Pebbles base. Use a spatula to spread it out evenly, making sure the mixture covers the entire base.
Step 3: Coat with Chocolate
To give these Fruity Pebbles Snickers their signature smooth and indulgent finish, coat the layers in rich milk chocolate.
- Melt the milk chocolate: In a microwave-safe bowl or double boiler, melt the milk chocolate chips until smooth and glossy. This can be done in 30-second intervals, stirring after each, to ensure the chocolate doesn’t burn.
- Drizzle the chocolate over the top: Once the chocolate is melted, pour it evenly over the Snickers layer. Use a spatula or spoon to spread the chocolate so that it covers the entire surface.
- Optional white chocolate drizzle: If you want a bit of extra flair, melt the white chocolate chips and drizzle them over the top of the chocolate-coated treat for a beautiful contrast.
Step 4: Set the Fruity Pebbles Snickers
The key to getting the right texture is allowing the chocolate to set properly. This will also help the layers bind together.
- Refrigerate: Place the baking dish in the refrigerator for at least 1-2 hours, or until the chocolate has fully set and the layers have hardened. This ensures that the bars hold together when you cut them into squares.
Step 5: Slice and Enjoy
Once the bars are fully set and firm, it’s time to slice them into squares and enjoy!
- Cut into squares: Use a sharp knife to cut the Fruity Pebbles Snickers into small squares or rectangles. The size can vary depending on your preference—just keep in mind that these treats are rich, so smaller pieces are often best!
- Serve and indulge: Serve the Fruity Pebbles Snickers on a plate or in a fun treat box. These are perfect for parties, family gatherings, or just as a fun, sweet snack.
Tips for the Best Fruity Pebbles Snickers:
- Customize the crunch: If you prefer a more intense fruity flavor, you can add more Fruity Pebbles cereal to the base. Just make sure the mixture remains cohesive enough to hold together when you cut it.
- Make it vegan: For a vegan version, use plant-based peanut butter, dairy-free chocolate, and marshmallow alternatives.
- Use caramel drizzle: If you want even more caramel flavor, you can drizzle extra caramel over the top after the chocolate has set.
- Storage: These Fruity Pebbles Snickers can be stored in an airtight container at room temperature for up to 5 days or refrigerated for up to 2 weeks. Just make sure they are fully set before storing.
Conclusion:
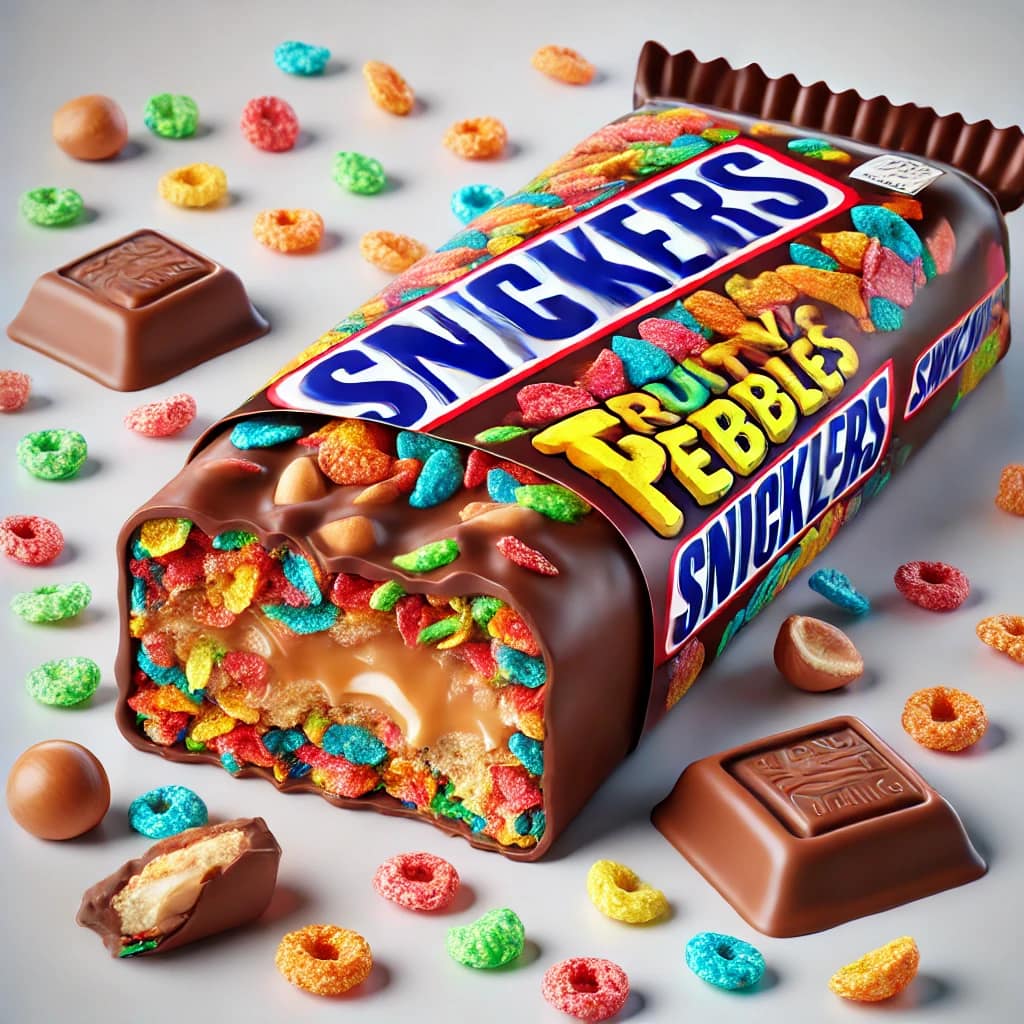
These Fruity Pebbles Snickers are a fun, vibrant twist on a classic candy bar. With a crispy cereal base, chewy marshmallow-peanut filling, and a luscious chocolate coating, these treats are sure to satisfy any sweet tooth. Whether you’re making them for a special event, as a snack for the kids, or just because you need a bit of sweetness in your day, these Fruity Pebbles Snickers will never disappoint. Enjoy the colorful crunch and gooey caramel in every bite—there’s nothing like the joy of this fun and decadent dessert!