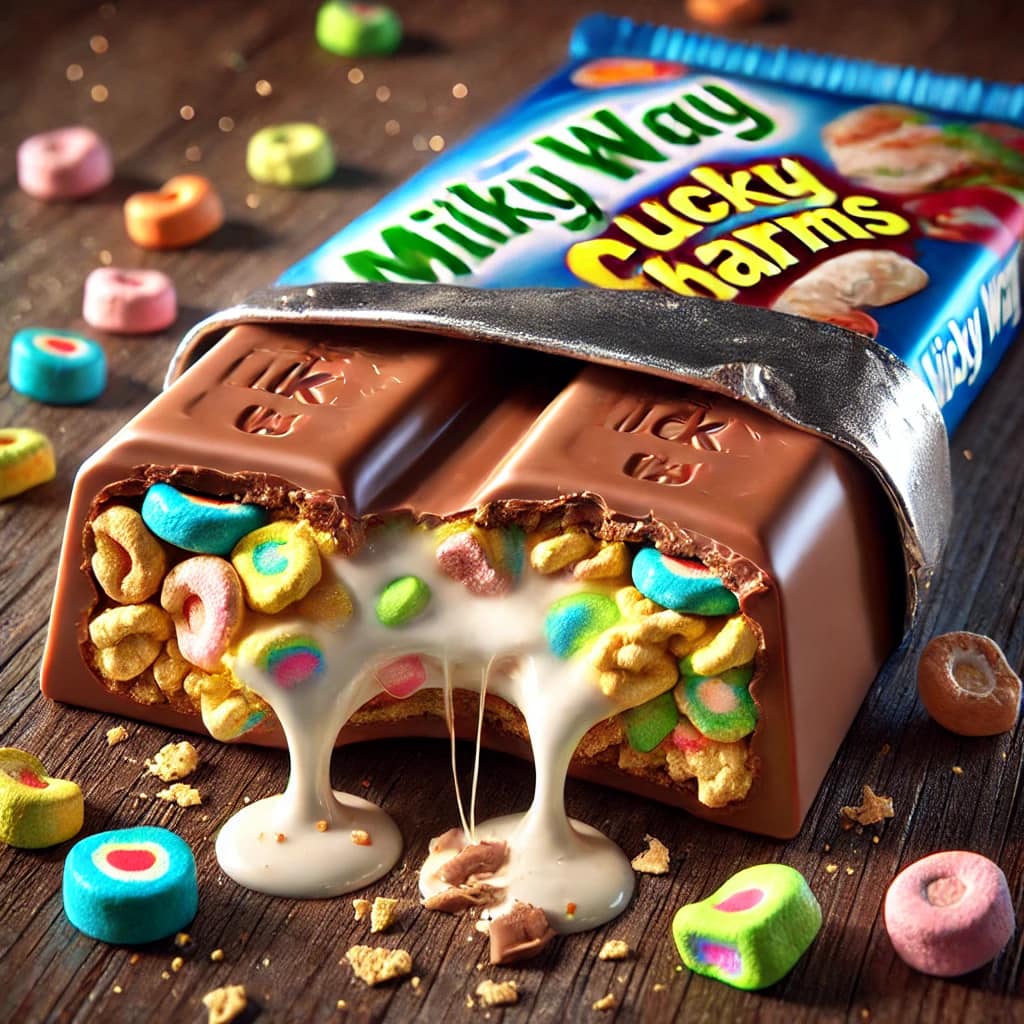
Step 1: Bake the Cake
- Preheat your oven to 350°F (175°C) and grease two 9-inch round cake pans. Line the bottoms with parchment paper.
- In a large mixing bowl, whisk together the flour, cocoa powder, baking powder, baking soda, salt, and sugar.
- Add the eggs, milk, oil, and vanilla extract. Beat on medium speed until well combined.
- Slowly add the boiling water, mixing on low speed. The batter will be thin; this is normal.
- Divide the batter evenly between the prepared pans and bake for 30-35 minutes, or until a toothpick inserted into the center comes out clean.
- Let the cakes cool in the pans for 10 minutes, then transfer to a wire rack to cool completely.
Step 2: Prepare the Filling
- In a medium bowl, combine the marshmallow fluff and heavy cream. Whisk until smooth.
- Fold in the crushed Lucky Charms cereal and refrigerate until needed.
Step 3: Make the Frostin
- In a large bowl, beat the butter until light and fluffy.
- Gradually add the powdered sugar and cocoa powder, alternating with the milk, until the frosting is creamy and spreadable.
- Mix in the vanilla extract.
Step 4: Make the Caramel Sauce
- In a small saucepan, heat the sugar and water over medium heat until the sugar dissolves and turns a deep amber color.
- Remove from heat and carefully whisk in the heavy cream.
- Stir in the butter until smooth. Let cool slightly.
Step 5: Assemble the Cake
- Place one cake layer on a serving plate or cake stand. Spread a thick layer of the marshmallow filling over the top.
- Place the second cake layer on top and frost the entire cake with the chocolate frosting.
- Drizzle caramel sauce over the top, letting it cascade down the sides.
Step 6: Decorate
- Scatter Lucky Charms marshmallows over the top of the cake.
- Add a final drizzle of caramel sauce and sprinkle with shaved chocolate or chocolate chips if desired.
Serving Suggestions
- Chill the cake for 30 minutes before serving for cleaner slices.
- Pair with a tall glass of milk or hot cocoa for the ultimate treat.
Tips for Success
- Lucky Charms Crunch: Toast the cereal lightly in a dry pan for extra crunch before adding it to the filling.
- Caramel Mastery: Be careful when working with caramel to avoid burning—keep a close eye on the color.
- Storage: Store the cake in the refrigerator for up to 3 days, but bring it to room temperature before serving for the best flavor.
Conclusion
This Lucky Charm Milky Way Cake combines whimsy and indulgence in every bite. Perfect for kids and adults alike, it’s a dessert that will leave everyone asking for seconds. Make it for your next special occasion and watch it disappear in no time!
