Step 1: Preheat the Oven and Prepare the Pan
- Preheat your oven to 350°F (175°C).
- Grease and flour your cake pan (9-inch round or square), or line it with parchment paper to prevent the cake from sticking.
Step 2: Mix the Dry Ingredients
- In a medium bowl, whisk together 2 1/2 cups all-purpose flour, 2 1/2 teaspoons baking powder, and 1/2 teaspoon salt. Set this aside.
Step 3: Cream the Butter and Sugar
- In a large bowl, beat 1 cup unsalted butter and 1 1/2 cups granulated sugar together using an electric mixer (or stand mixer) on medium speed.
- Beat for about 4-5 minutes until the mixture is light, fluffy, and pale in color. This step is crucial because it incorporates air into the batter, making the cake light and fluffy.
Step 4: Add Eggs One at a Time
- Add the 4 large eggs, one at a time, to the butter and sugar mixture. Beat well after each addition, making sure each egg is fully incorporated before adding the next one.
- Scrape the sides of the bowl as needed to ensure everything is mixed evenly.
Step 5: Add Vanilla and Dry Ingredients
- Mix in 1 tablespoon vanilla extract.
- Gradually add the dry ingredients (flour mixture) into the wet ingredients in 2-3 additions. Start by adding a third of the flour mixture, then half of the milk, and continue alternating between the dry and wet ingredients. Mix on low speed to avoid flour spilling out, then switch to medium speed until just combined.Tip: If you want an even more moist cake, you can add 1/2 cup sour cream at this stage for extra richness.
Step 6: Add the Milk
- Gradually pour in 1 cup whole milk, mixing on low speed until fully incorporated. The batter should be smooth and thick, but not overly dense.
Step 7: Bake the Cake
- Pour the batter into the prepared cake pan and spread it evenly with a spatula.
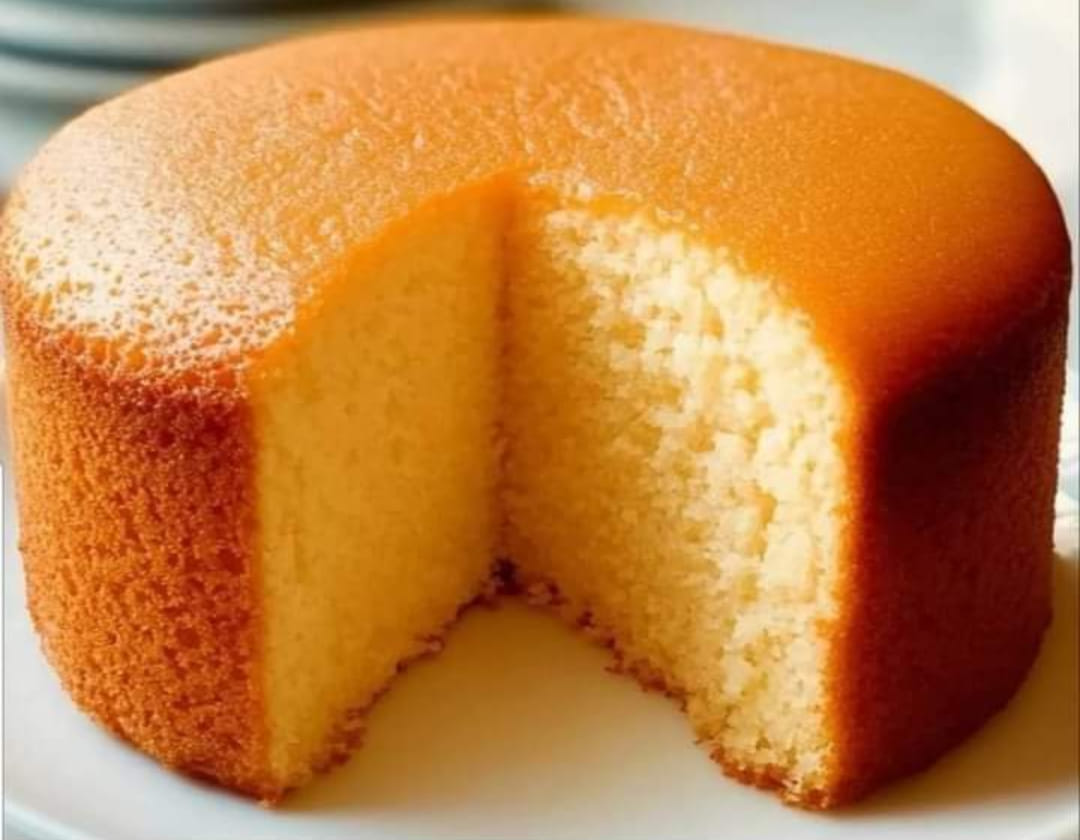
- Bake in the preheated oven for 30-35 minutes, or until a toothpick inserted into the center comes out clean or with just a few moist crumbs. The top of the cake should be lightly golden.
Step 8: Cool the Cake
- Remove the cake from the oven and allow it to cool in the pan for about 10 minutes.
- Afterward, turn the cake out onto a wire rack to cool completely.
Step 9: Frost or Serve
- Frosting: If you like, you can frost your butter cake with buttercream, cream cheese frosting, or a glaze. You can also enjoy it with fresh berries or a dusting of powdered sugar for a simpler touch.
- Serve: Slice and enjoy the cake on its own or as part of a larger dessert spread. It’s perfect for tea time, birthdays, or holiday gatherings.
Tips for Success:
- Room Temperature Ingredients: Make sure your butter, eggs, and milk are at room temperature before starting. This helps them incorporate better into the batter, creating a smoother texture.
- Don’t Overmix: When adding the dry ingredients, mix until just combined. Overmixing can result in a dense cake.
- Check Doneness: All ovens vary, so make sure to check the cake a few minutes before the suggested time to prevent overbaking.
- Flavor Variations: You can add other flavorings such as almond extract, lemon zest, or orange zest to the batter to customize the flavor.
- Moisture: If you want an extra moist cake, adding sour cream or buttermilk can enhance the texture and flavor.
How to Store:
- Room Temperature: Store the cake in an airtight container at room temperature for 3-4 days.
- Refrigerate: If you’ve frosted the cake, store it in the refrigerator for up to 5-6 days. Just bring it to room temperature before serving for the best flavor and texture.
- Freezing: You can freeze the uncut cake for up to 3 months. Wrap it tightly in plastic wrap, then foil, before freezing. Thaw in the refrigerator or at room temperature before serving.
Variations and Customizations:
- Chocolate Butter Cake: Add 1/2 cup cocoa powder to the flour mixture to turn this into a rich chocolate butter cake.
- Lemon Butter Cake: Add zest of 1 lemon and 1 tablespoon lemon juice to the batter for a bright, citrus flavor.
- Spiced Butter Cake: Add 1 teaspoon ground cinnamon and 1/2 teaspoon ground nutmeg to the dry ingredients for a warm, spiced version of the cake.
Conclusion:
Making a delicious butter cake from scratch is a simple process that yields fantastic results. Whether you’re making it for a special occasion or just for a treat, this cake is sure to impress with its rich flavor and tender crumb. It’s the kind of cake that melts in your mouth and keeps you coming back for more. Enjoy your creation, and remember, the best part of baking is sharing your homemade goodness with those you love!
