Step 1: Prepare the Cookie Dough
- Cream the Butter and Sugar: In a large mixing bowl, beat together 1 cup unsalted butter and 1 cup granulated sugar using an electric mixer on medium speed until the mixture is light and fluffy. This will take about 3-4 minutes.
- Add the Egg and Vanilla: Beat in 1 large egg and 1 teaspoon vanilla extract. Mix until fully combined.
- Combine Dry Ingredients: In a separate bowl, whisk together 2 1/2 cups all-purpose flour, 1/2 teaspoon salt, and 1/2 teaspoon baking powder. Gradually add the dry ingredients to the wet ingredients, mixing on low speed until just combined. Be careful not to overmix.
- Adjust Dough Consistency (if needed): If the dough feels too dry, add 1-2 tablespoons of milk, one tablespoon at a time, until it comes together into a soft, smooth dough.
Step 2: Divide and Color the Dough
- Divide the Dough: Once the dough is ready, divide it into three equal portions.
- Color the Dough:
- Take one portion of the dough and leave it as-is for the plain butter flavor.
- To the second portion, add 1/4 teaspoon red gel food coloring. Mix it into the dough until you achieve a bright red color.
- To the third portion, add 1/4 teaspoon green gel food coloring and mix until you get a vibrant green dough.
Step 3: Chill the Dough
- Wrap the Dough: Form each portion of dough into a disk and wrap them individually in plastic wrap.
- Chill the Dough: Place the wrapped doughs in the refrigerator for at least 30 minutes to firm up. This makes it easier to roll and shape the dough.
Step 4: Roll the Dough and Form the Swirls
- Roll the Dough: After chilling, take the dough out of the refrigerator. Place one portion of dough on a lightly floured surface. Using a rolling pin, roll it out to about 1/4 inch thick.
- Stack and Layer the Dough:
- Roll out the red dough and then place it on top of the plain dough.
- Roll out the green dough and place it on top of the red dough.
- You should now have three layers of dough: plain, red, and green.
- Roll into a Log: Starting at one edge, carefully roll the dough up into a tight log. If the dough becomes too soft, place it back in the refrigerator for 10-15 minutes to firm up before continuing.
Step 5: Slice and Bake the Cookies
- Preheat the Oven: While your dough is chilling, preheat your oven to 350°F (175°C). Line your baking sheets with parchment paper or silicone mats.
- Slice the Dough: Once your dough log is firm, use a sharp knife to slice the dough into 1/4-inch thick slices. Arrange the slices on the prepared baking sheets, spacing them about 1 inch apart.
- Decorate (Optional): If desired, sprinkle the tops of the cookies with colorful sprinkles for an extra festive touch.
- Bake: Bake the cookies in the preheated oven for 8-10 minutes, or until the edges are lightly golden. Be careful not to overbake, as you want them to remain soft.
- Cool: Remove the cookies from the oven and let them cool on the baking sheets for about 5 minutes before transferring them to wire racks to cool completely.
Step 6: Serve and Enjoy!
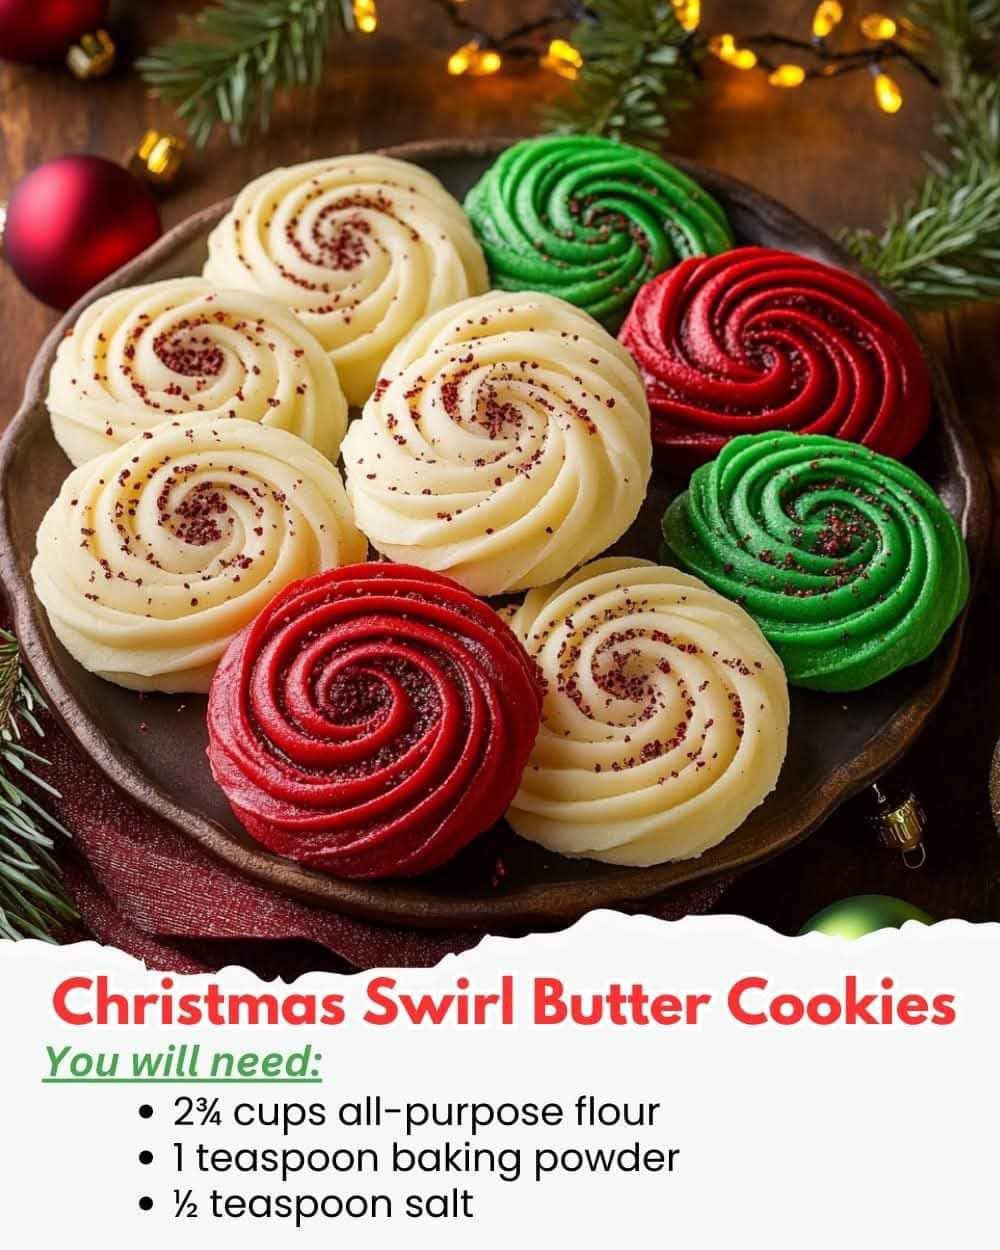
Once the cookies have cooled, they are ready to enjoy! The swirls of red, green, and plain butter dough make them perfect for holiday gatherings, cookie exchanges, or just as a treat to enjoy with family. Their buttery flavor and festive appearance are sure to be a hit.
Tips for Success
- Gel Food Coloring: Gel food coloring is highly concentrated and works better than liquid food coloring for vibrant, rich colors without affecting the dough’s consistency.
- Freezing the Dough: If you want to make these cookies ahead of time, you can freeze the dough log. Wrap it tightly in plastic wrap and freeze for up to 1 month. When ready to bake, slice and bake directly from frozen, adding a couple of extra minutes to the baking time.
- Even Slicing: If you find it hard to slice evenly, you can roll the dough out on a parchment paper and cut it into strips to layer, then roll it up. This helps ensure uniform thickness.
Variations and Customizations
- Add Chocolate: For a twist on the classic butter cookie, mix in some mini chocolate chips to the plain dough for extra flavor.
- Holiday Shapes: Use holiday-themed cookie cutters to cut out different shapes after rolling and stacking the dough. You can make stars, trees, or even snowflakes!
- Citrus Zest: Add some orange or lemon zest to the plain dough to give the cookies a hint of citrus flavor.
Conclusion
Christmas Swirl Butter Cookies are a festive and delicious treat that will add a touch of holiday cheer to any gathering. Their soft, buttery texture and vibrant swirl of colors make them a showstopper on your dessert table. Whether you’re baking with family, preparing holiday gifts, or simply treating yourself to a festive snack, these cookies are sure to become a new holiday tradition. Happy baking, and enjoy these beautiful, delicious treats with your loved ones this season!
