Stage 1: Prepping Your Ingredients
- Thaw Cool Whip:
- Cool Whip must be completely thawed but still cold. Transfer it from the freezer to the refrigerator at least 4-5 hours before starting, or overnight for best results.
- Tip: Avoid thawing at room temperature to maintain its structure.
- Chill Your Bowl and Whisk:
- Place your mixing bowl and whisk in the freezer for 10 minutes. This keeps the frosting cold during mixing, ensuring a fluffy consistency.
Stage 2: Making the Pudding Mixture
- Combine Milk and Pudding Mix:
- In the chilled bowl, pour 1 cup of cold milk and sprinkle in the instant pudding mix.
- Whisk Vigorously: Use a hand whisk or an electric mixer on low speed to mix until the pudding thickens slightly (about 1-2 minutes).
- Texture Check: The mixture should have a creamy, custard-like consistency. If it’s too thick, add a splash of milk; if it’s too thin, let it sit for an extra minute.
Stage 3: Folding in the Cool Whip
- Gentle Folding:
- Spoon the thawed Cool Whip into the pudding mixture. Using a silicone spatula, gently fold the two together.
- Technique Tip: Use an “up-and-over” motion to maintain the airy texture. Avoid over-mixing, which can deflate the Cool Whip.
- Add Sweeteners and Flavors (Optional):
- If desired, sift 2-3 tablespoons of powdered sugar over the frosting and fold it in.
- Add 1 teaspoon of vanilla extract or a few drops of your chosen flavoring.
Stage 4: Customizing Your Frosting
- Color It:
- Divide the frosting into separate bowls if you need multiple colors.
- Add a few drops of gel food coloring to each bowl and gently mix until evenly distributed.
- Mix-Ins (Optional):
- For a fruity twist, fold in zest (lemon, orange) or finely chopped fruit (like strawberries or raspberries).
- For a crunch, add crushed cookies, nuts, or candy pieces.
Stage 5: Chilling and Using the Frosting
- Chill Before Use:
- Transfer the frosting to an airtight container and refrigerate for at least 30 minutes. This helps it firm up slightly, making it easier to spread or pipe.
- Frost Your Dessert:
- Spread or pipe the frosting onto cakes, cupcakes, or cookies using a spatula or piping bag.
- For a clean finish, use an offset spatula to create smooth surfaces or decorative swirls.
Pro Tips for Success
- Don’t Skip the Chill Time: Cool Whip frosting holds its shape best when cold. Always frost chilled cakes or desserts.
- Double the Batch for Layer Cakes: One batch is enough for 12 cupcakes or a single-layer cake. Double it for larger desserts.
- Storage: Leftover frosting can be stored in an airtight container in the refrigerator for up to 3 days. Avoid freezing, as the texture may change.
Pairing Ideas
- Cakes: Vanilla sponge, chocolate cake, or carrot cake.
- Cupcakes: Red velvet, lemon, or funfetti.
- Dips: Serve with fresh strawberries, apple slices, or graham crackers.
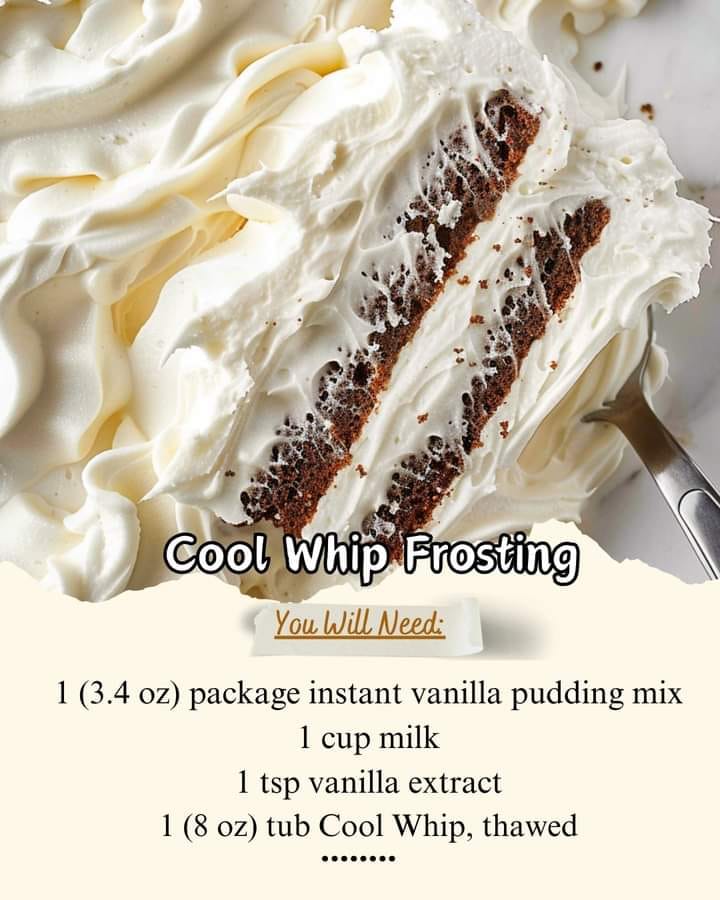
This Cool Whip frosting recipe is a must-have in your culinary arsenal. Its simplicity, versatility, and delightful texture will elevate your desserts to new heights. Whether you’re making it for a birthday cake or a quick weeknight treat, your guests will be asking for seconds—and the recipe!
