- Combine Ingredients:
In a large mixing bowl, combine 1 cup of the active sourdough starter and 1 ½ cups of water. Stir to combine. - Add Flour and Salt:
Gradually add 4 cups of flour and 2 teaspoons of salt. Mix with a wooden spoon or your hands until a shaggy dough forms. The dough should be somewhat sticky but manageable. - Autolyse:
Let the dough rest for about 30 minutes to 1 hour. This resting period allows the flour to absorb the water, making the dough easier to handle.
Step 3: Knead and Fold
- Knead the Dough:
After the autolyse, knead the dough in the bowl or on a floured surface for about 5-10 minutes until it becomes smooth and elastic. If you prefer, you can use the “stretch and fold” method instead: pull one side of the dough up and fold it over itself, rotating the bowl as you go. Do this for about 4-6 folds every 30 minutes for 2-3 hours. - Bulk Fermentation:
After kneading, cover the bowl with a damp cloth or plastic wrap and let the dough rise at room temperature for 4-6 hours, or until it has doubled in size. The time will vary based on the temperature of your kitchen.
Step 4: Shape the Dough
- Pre-shape:
Once the dough has doubled, gently turn it out onto a lightly floured surface. Shape it into a round ball and let it rest for 15-20 minutes. - Final Shape:
After resting, shape the dough into your desired form (round or oval) by stretching and tucking the edges toward the center. Flip the dough over so the seam is facing down and place it in a well-floured proofing basket or bowl.
Step 5: Second Rise
- Proof the Dough:
Cover the shaped dough with a damp cloth and let it rise for another 2-4 hours at room temperature, or you can refrigerate it overnight for a slower fermentation and more complex flavors.
Step 6: Preheat the Oven
- Prepare for Baking:
About 30 minutes before you’re ready to bake, place a Dutch oven or a baking stone in the oven and preheat it to 450°F (232°C).
Step 7: Bake the Bread
- Transfer the Dough:
When the oven is hot, carefully remove the Dutch oven. Gently flip the dough onto a piece of parchment paper and score the top with a sharp knife or razor blade to allow steam to escape. - Bake:
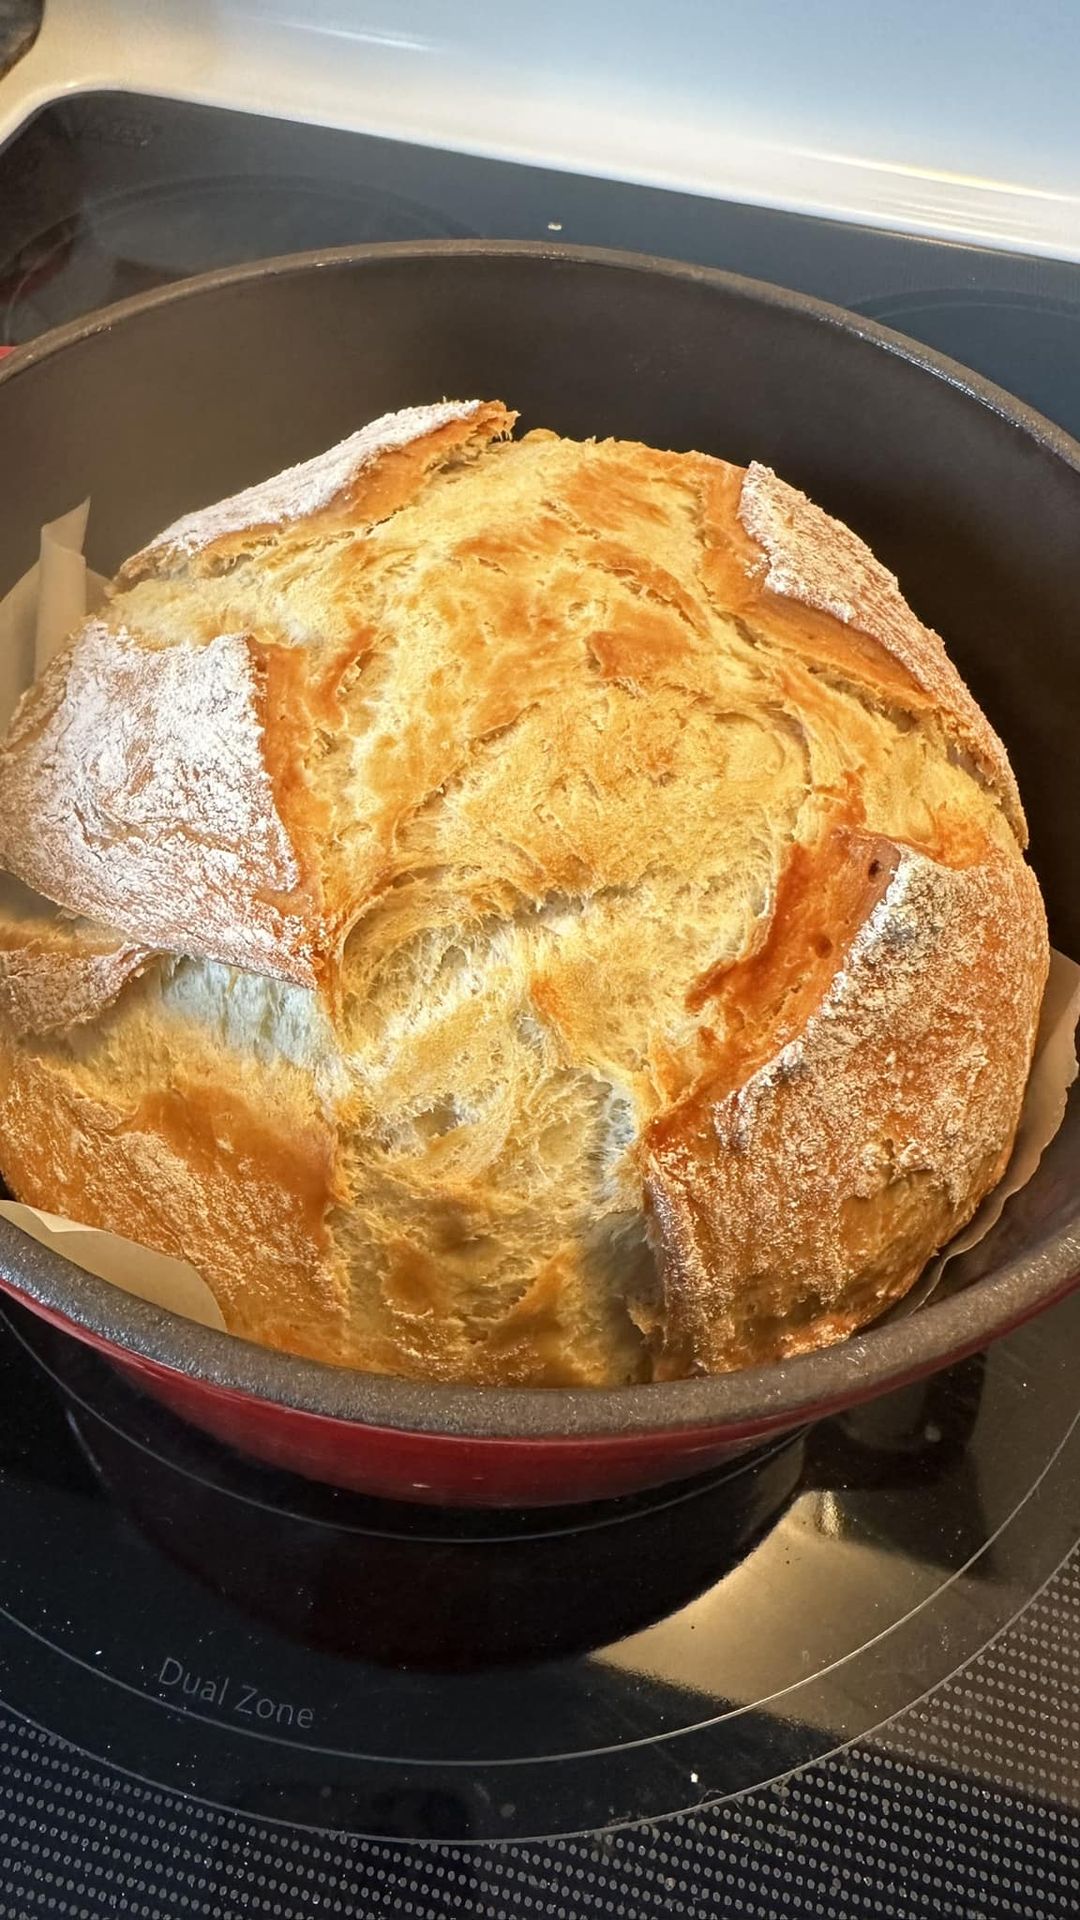
Place the dough (with parchment) into the Dutch oven. Cover with the lid and bake for 30 minutes. Remove the lid and bake for an additional 15-20 minutes, until the crust is a deep golden brown.
Step 8: Cool and Serve
- Cool:
Once baked, carefully remove the bread from the Dutch oven and let it cool on a wire rack for at least 1 hour. This allows the interior crumb to set properly. - Slice and Enjoy:
Once cooled, slice your sourdough bread with a serrated knife and enjoy it plain, with butter, or as a base for sandwiches.
Final Notes: Tips and Variations
- Sourdough Starter Maintenance:
Feed your starter regularly (once a week if kept in the fridge) to keep it active. - Flavor Variations:
Feel free to add herbs, cheese, or nuts to the dough for different flavor profiles. - Storage:
Store the bread in a paper bag at room temperature for up to 3 days, or freeze it for longer storage. Slice before freezing for easy access.
Conclusion:
Homemade sourdough bread is a labor of love that rewards you with a delightful, crusty loaf filled with flavor. The process may seem intricate, but the journey of nurturing a sourdough starter and crafting your own bread is incredibly satisfying. Enjoy the delicious results and the wonderful aroma that fills your home!