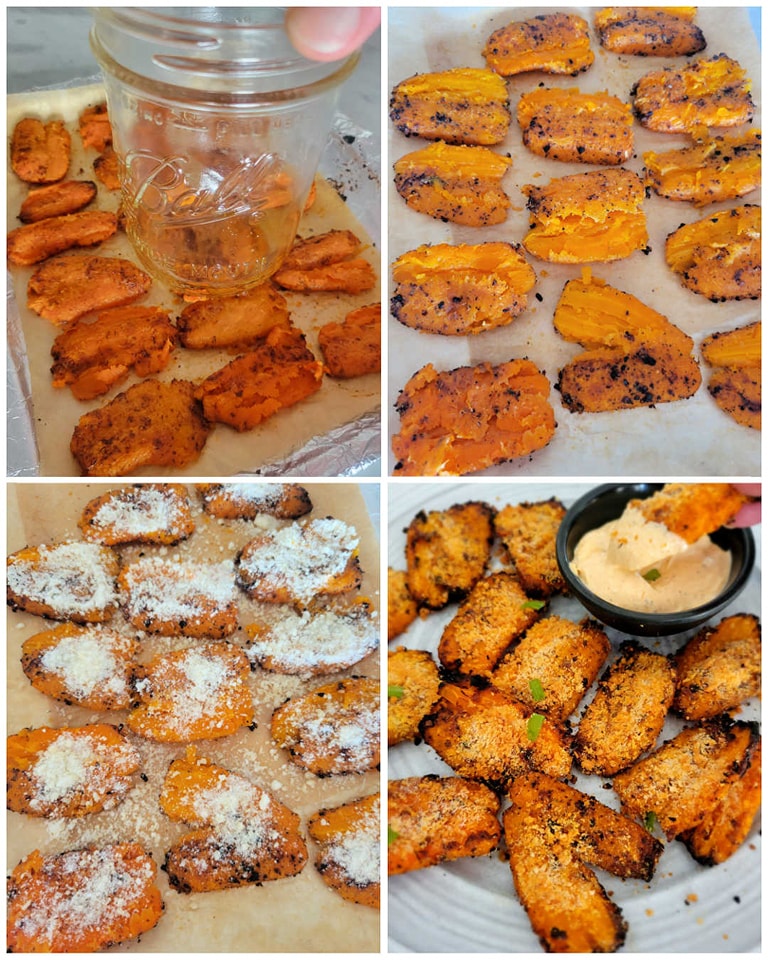
Step 1: Prepare the Carrots
- Boil the Carrots: In a pot, bring water to a boil. Add the baby carrots and cook for about 8-10 minutes, or until they are fork-tender. If using regular carrots, ensure they are cut into similar-sized pieces for even cooking.
- Drain and Cool: Drain the carrots and let them cool slightly.
Step 2: Smash the Carrots
- Smash: On a cutting board, use the bottom of a glass or a potato masher to gently smash each carrot until flattened but not completely broken apart.
Step 3: Season the Carrots
- Season: In a large bowl, toss the smashed carrots with olive oil, garlic powder, onion powder, smoked paprika, salt, and pepper until well coated.
Step 4: Preheat the Air Fryer
- Preheat: Preheat your air fryer to 400°F (200°C) for about 3-5 minutes.
Step 5: Air Fry the Carrots
- Arrange in Basket: Place the seasoned smashed carrots in a single layer in the air fryer basket. You may need to cook in batches depending on the size of your air fryer.
- Sprinkle with Parmesan: After arranging, sprinkle the grated Parmesan cheese evenly over the smashed carrots.
- Cook: Air fry for 10-12 minutes, flipping halfway through, until the carrots are crispy and golden brown.
Step 6: Serve
- Garnish: Once cooked, remove the carrots from the air fryer and transfer them to a serving dish. Garnish with fresh parsley if desired.
- Enjoy: Serve warm as a tasty side dish with your favorite main courses.
Tips for Success
- Carrot Size: If using larger carrots, cut them into thick rounds or sticks to ensure they cook evenly.
- Cheese Variations: Feel free to experiment with different types of cheese, such as grated Pecorino Romano or shredded cheddar, for added flavor.
- Leftovers: Store any leftovers in an airtight container in the refrigerator for up to 3 days. Reheat in the air fryer to retain crispiness.
Conclusion
These Crispy Air Fryer Parmesan Smashed Carrots are a delightful and healthier alternative to traditional side dishes. With their crispy edges and cheesy goodness, they’re sure to impress family and friends. Enjoy this fun recipe, and feel free to share your experiences in the comments below! Happy cooking!
