1. Prepare the Ingredients
Begin by gathering all your ingredients and equipment. Ensure your yeast is fresh by dissolving it in a small amount of lukewarm water with a pinch of sugar. Let it sit for 5-10 minutes; if it becomes frothy, it’s ready to use.
2. Mix the Dough
In a large mixing bowl, combine the flour, salt, and sugar (if using). Create a well in the center and pour in the water and activated yeast (or just water if using instant yeast). Stir with a wooden spoon or dough whisk until a shaggy dough forms. The dough will be sticky, which is a good sign!
3. Hydration and Rest (Autolyse)
Cover the bowl with a clean kitchen towel or plastic wrap and let the dough rest for 30 minutes. This step, called autolyse, allows the flour to fully absorb the water, beginning the gluten development process and making the dough easier to handle.
4. Kneading and First Rise
After the autolyse, lightly knead the dough in the bowl using the stretch-and-fold technique:
- Grab a section of the dough, stretch it upward, and fold it over the center.
- Rotate the bowl slightly and repeat until all sides are stretched and folded (4-6 times).
- Cover the bowl again and let it rise at room temperature for 1-2 hours, or until it doubles in size.
5. Optional: Add-Ins
If you’re incorporating extras like herbs, seeds, or cheese, gently fold them into the dough after the first rise.
6. Shaping the Dough
Turn the dough out onto a lightly floured surface. Gently shape it into a round boule or oval batard by folding the edges toward the center and creating surface tension by tucking and rolling the dough. Place the shaped dough on a piece of parchment paper.
7. Second Rise (Proofing)
Transfer the dough (on the parchment paper) to a bowl or proofing basket. Cover and let it proof for 30-60 minutes, or until it slightly puffs up but does not double in size. During this time, preheat your oven to 450°F (230°C) with the Dutch oven inside to heat up.
8. Scoring the Bread
Once proofed, use a sharp knife or bread lame to score the top of the dough. Scoring allows the bread to expand properly in the oven and adds an artistic touch.
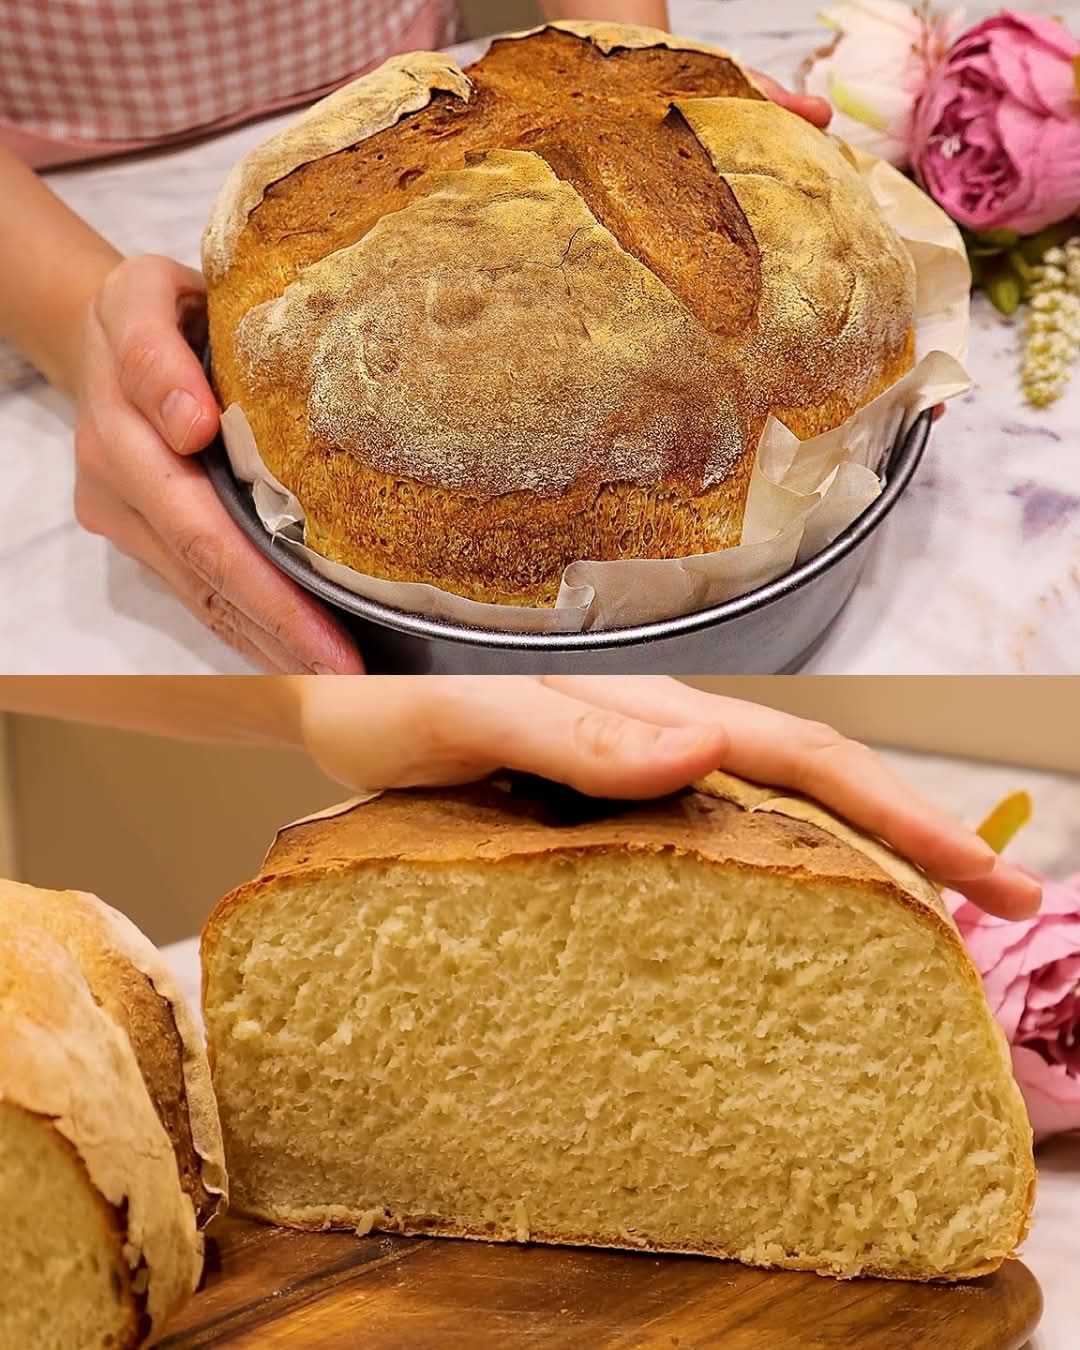
9. Baking
Carefully remove the hot Dutch oven from the oven. Using the parchment paper as a sling, transfer the dough into the Dutch oven. Cover with the lid and bake for 30 minutes.
After 30 minutes, remove the lid to allow the crust to develop its golden color and bake for an additional 10-15 minutes. The bread is done when the crust is deep brown and the loaf sounds hollow when tapped on the bottom.
10. Cooling
Transfer the bread to a wire rack and let it cool completely for at least 1 hour before slicing. Cutting too early may result in a gummy texture.
Tips for Success
- Patience is Key: Artisan bread requires time. Don’t rush the fermentation and proofing stages.
- Experiment: Try different flours, hydration levels, and add-ins to find your perfect loaf.
- Practice: The more you bake, the better you’ll understand the dough’s behavior.
Storage and Serving Suggestions
Store your bread in a paper bag at room temperature for up to 3 days. For longer storage, wrap tightly and freeze for up to 3 months. Serve with butter, olive oil, or your favorite spreads.
Making artisan bread at home is a journey of discovery, from the tactile pleasure of working with dough to the aroma that fills your kitchen. Embrace the process and enjoy your masterpiece!