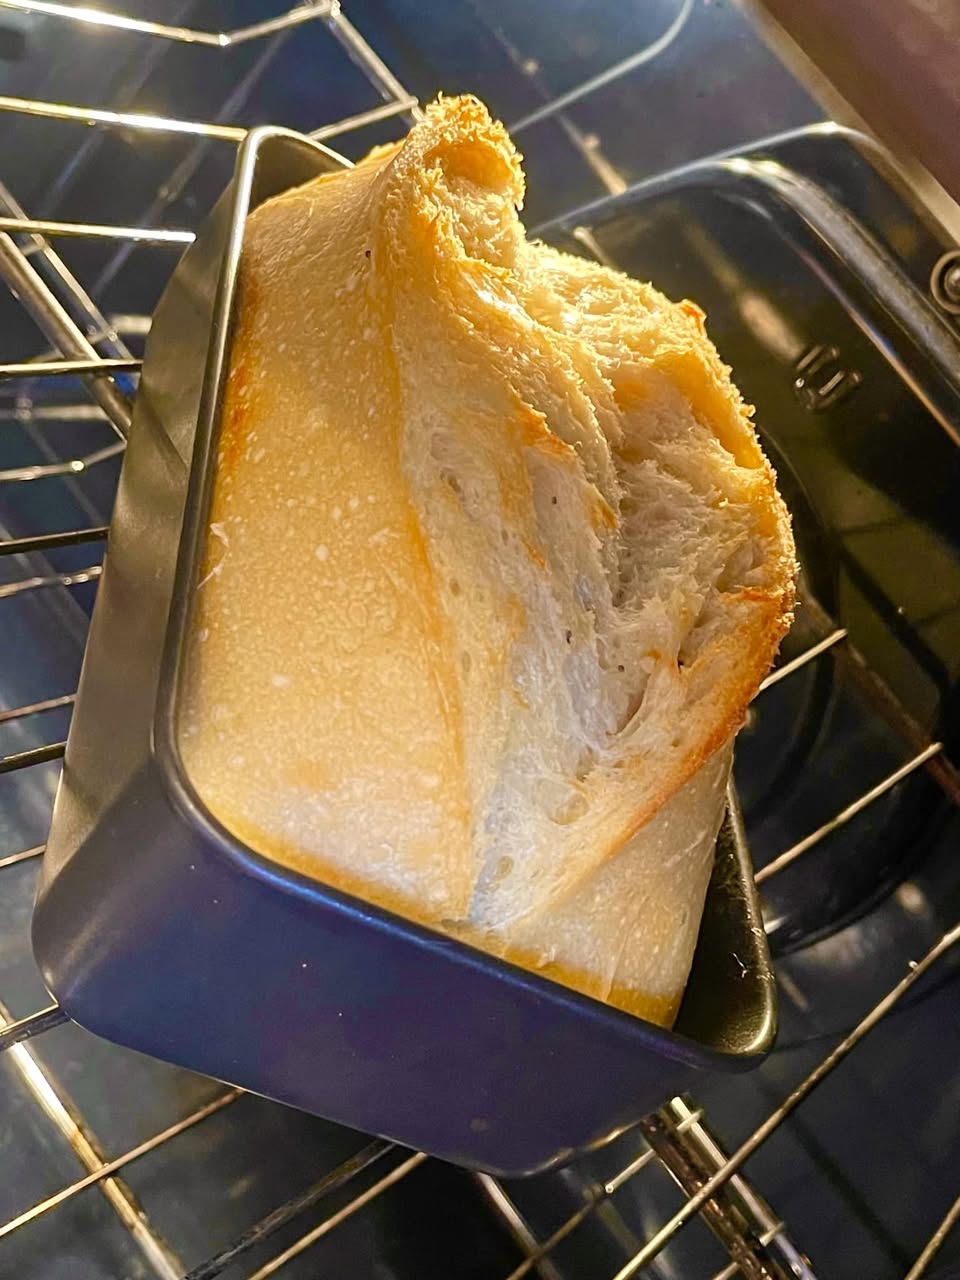
1. Preheat the Dutch Oven:
- Place your empty Dutch oven (lid included) in the oven and preheat it to 475°F (245°C) for at least 30 minutes. This ensures the pot is thoroughly heated, allowing for an initial “oven spring,” where the dough rapidly rises when it hits the hot surface.
2. Prepare the Dough:
- While the Dutch oven preheats, shape your dough and let it rest on parchment paper for easy transfer. Scoring the dough at this stage creates decorative patterns and directs how the bread expands during baking.
3. Transfer the Dough:
- Carefully remove the hot Dutch oven from the oven (use oven mitts!). Place the dough (on parchment paper) into the Dutch oven. The parchment acts as a sling, making it easier to lift the bread in and out.
4. Cover and Bake:
- Cover the Dutch oven with its lid and bake for 20–25 minutes. The lid traps steam, creating the ideal environment for crust formation.
5. Remove the Lid:
- After the initial bake, remove the lid to allow the crust to brown and develop a deep golden color. Bake for another 15–20 minutes.
6. Cool Completely:
- Remove the bread from the Dutch oven and let it cool on a wire rack for at least 1 hour before slicing. Cooling allows the crumb to set and prevents a gummy texture.
Tips for Success
- Use Parchment Paper:
It prevents sticking and makes handling hot dough safer and easier. - Don’t Skip Preheating:
A fully preheated Dutch oven is key to achieving maximum oven spring and a crisp crust. - Experiment with Sizes:
If you bake different bread sizes, ensure your Dutch oven has ample room for the dough to rise without touching the lid. - Control the Steam:
If your crust becomes too dark, try leaving the lid on for a slightly shorter time in the next bake. - Maintenance:
Avoid thermal shock by letting the Dutch oven cool gradually and never rinsing it with cold water when hot.
Dutch Oven Bread Ideas:
- Classic Sourdough: The tangy flavor and chewy texture shine in a Dutch oven.
- Whole Wheat Loaf: Retains moisture for a tender crumb while achieving a hearty crust.
- Seeded Rye Bread: The enclosed heat helps toast seeds for an aromatic, nutty flavor.
- No-Knead Bread: Perfect for beginners—minimal effort, maximum reward!
Why Every Loaf is Amazing:
- Consistency: The Dutch oven delivers reliable results every time, making it an essential tool for bakers.
- Rustic Appearance: The natural crusty look and artisan shape give every loaf a bakery-quality finish.
- Enhanced Flavor: The steam environment allows sugars in the dough to caramelize, intensifying flavor.
With these techniques, you’ll bake bread that looks as incredible as it tastes! Whether you’re a beginner or an experienced baker, the Dutch oven is your best ally for making perfect loaves every time.
