Step 1: Preparing Your Workspace
Before starting, line a baking sheet with parchment paper to prevent sticking. Gather all your ingredients and tools for easy access.
Step 2: Melting the Candy Coating
- Place the green candy melts or white chocolate chips in a microwave-safe bowl. Add the coconut oil or shortening for a smoother consistency.
- Heat in the microwave in 20-second intervals, stirring between each session, until fully melted and smooth. Be careful not to overheat, as chocolate can seize.
- If using white chocolate chips, add a few drops of green food coloring and mix until you achieve a vibrant Grinch green.
Step 3: Coating the Twinkies
- Insert a fork or dipping tool into the bottom of a Twinkie for stability.
- Dip the Twinkie into the melted candy coating, ensuring it’s fully covered. Allow excess coating to drip off.
- Place the coated Twinkie on the prepared parchment paper. Repeat with all Twinkies.
Pro Tip: Work quickly to prevent the candy coating from hardening before decorating. If it begins to set, reheat briefly in the microwave.
Step 4: Decorating the Grinch Twinkies
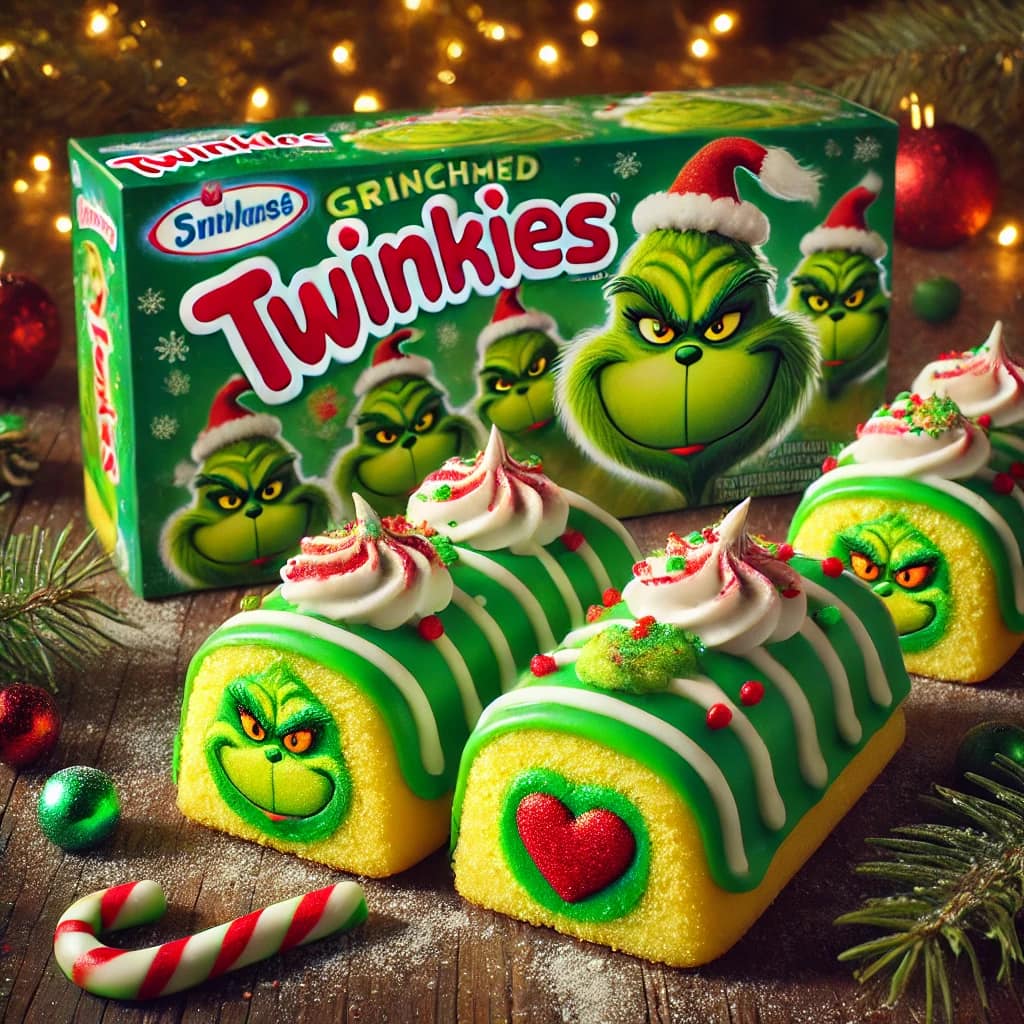
- While the coating is still wet, attach a red heart-shaped candy slightly off-center to represent the Grinch’s heart.
- Add edible candy eyes toward the top half of the Twinkie for the Grinch’s face. Use a toothpick dipped in melted chocolate to secure them if needed.
- Optional: Sprinkle green sanding sugar over the Twinkies for a sparkling effect.
- Let the Twinkies sit at room temperature until the candy coating hardens completely.
Optional Variations
Grinch Facial Features:
- Use white icing or melted chocolate to draw a mischievous Grinch smile and eyebrows. Let it dry before serving.
Extra Sparkle:
- Mix edible glitter into the candy coating or sprinkle it on top for a magical touch.
Holiday Flavor Twists:
- Add crushed peppermint or a drizzle of white chocolate for extra flavor.
Storage and Serving Tips
- Storage: Keep your Christmas Grinch Twinkies in an airtight container at room temperature for up to 3 days. Avoid refrigeration, as it may cause the candy coating to sweat.
- Serving: Arrange the Twinkies on a festive holiday platter. Add some candy canes or ornaments for a decorative touch.
Engage Your Guests
- Create a fun Grinch movie night and serve these Twinkies alongside popcorn and hot cocoa.
- Host a decorating station where kids can personalize their own Grinch treats.
Final Thoughts
These Christmas Grinch Twinkies are more than just a dessert—they’re a holiday experience. From the vibrant colors to the whimsical design, every bite is a reminder of the joy and creativity of the season. Whether you’re hosting a party or making treats for loved ones, this recipe is sure to spread holiday cheer.
So, put on some Christmas music, grab your ingredients, and let the festive fun begin.