Step 1: Activate the Yeast
- In a small bowl, combine 1 ½ cups of warm water and 1 tbsp sugar. Stir until the sugar is dissolved.
- Sprinkle 1 packet of active dry yeast over the warm water and let it sit for 5-10 minutes. The mixture should become frothy—this means your yeast is activated and ready to go.
Step 2: Mix the Dough
- In a large mixing bowl, combine 3 ½ cups of all-purpose flour and 1 tsp salt.
- Make a well in the center and pour in the yeast mixture along with 2 tbsp vegetable oil.
- Stir everything together until a sticky dough starts to form.
Step 3: Knead the Dough
- Turn the dough out onto a lightly floured surface and knead it for 8-10 minutes, until the dough becomes smooth and elastic. You can also use a stand mixer with a dough hook for easier kneading.
Step 4: Let the Dough Rise
- Place the kneaded dough into a lightly oiled bowl and cover it with a clean kitchen towel or plastic wrap.
- Let the dough rise in a warm, draft-free spot for 1 to 1 ½ hours. The dough should double in size.
Step 5: Punch Down the Dough
- Once the dough has risen, gently punch it down to release the air bubbles.
Step 6: Shape the Bread
- Form the dough into your desired shape—either into a loaf, rolls, or braided bread.
- Place the shaped dough onto a baking sheet lined with parchment paper or into a greased bread pan.
Step 7: Second Rise
- Cover the shaped dough again and let it rise for another 30-40 minutes until it puffs up slightly.
Step 8: Preheat the Oven
- Preheat your oven to 350°F (175°C).
Step 9: Bake the Bread
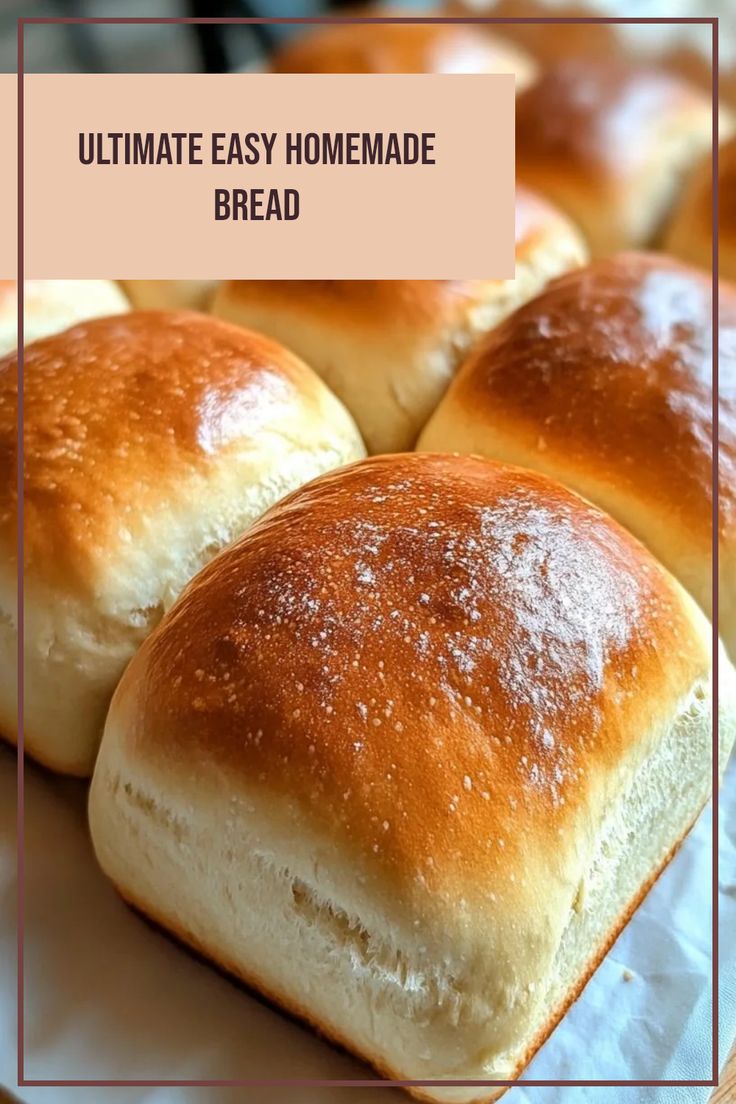
- Bake the dough in the preheated oven for 30-35 minutes or until the top turns golden brown.
- To ensure the bread is done, tap the bottom of the loaf—it should sound hollow.
Step 10: Cool and Serve
- Remove the bread from the oven and let it cool on a wire rack for 15-20 minutes before slicing. Letting it cool slightly helps the bread set properly and makes it easier to cut.
Tips for Success:
- Flour Choice: If you prefer a denser or chewier bread, consider using bread flour instead of all-purpose flour.
- Yeast Activation: Ensure your water isn’t too hot—it should feel warm to the touch, not scalding. Too hot water can kill the yeast.
- Kneading: Don’t rush this step—kneading develops the gluten, which creates that fluffy and elastic texture.
- Flavor Variations: Feel free to add garlic powder, herbs, cheese, or seeds to customize your loaf to your taste.
Conclusion:
Homemade bread doesn’t have to be complicated. With just a few simple ingredients and some time to let the dough rise, you can achieve fresh, soft, and flavorful bread that your family will love. This easy-to-follow recipe makes it accessible for everyone, from beginners to seasoned bakers. Once you’ve mastered this basic loaf, you’ll be inspired to experiment with different flavors and shapes. Enjoy your baking journey!
