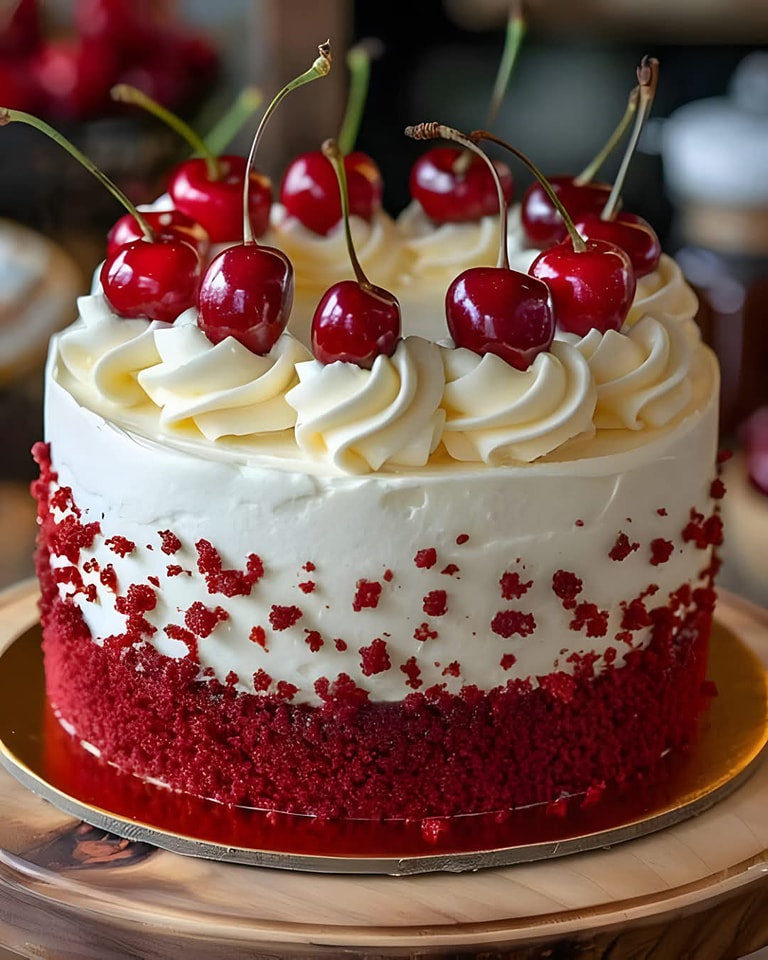
Step 1: Prep the Oven and Pans
- Preheat your oven to 350°F (175°C).
- Grease and flour two 9-inch round cake pans, then line the bottoms with parchment paper.
Step 2: Make the Cake Batter
- In a medium bowl, sift together the flour, baking powder, and salt. Set aside.
- In a large bowl, cream the butter and sugar with a hand mixer until light and fluffy, about 3 minutes.
- Beat in the eggs one at a time, mixing well after each addition.
- Add the vanilla extract and mix until combined.
- Gradually alternate adding the dry ingredients and milk, beginning and ending with the dry ingredients. Mix until just combined.
Step 3: Bake the Cakes
- Divide the batter evenly between the prepared pans.
- Bake for 25-30 minutes, or until a toothpick inserted into the center comes out clean.
- Cool the cakes in the pans for 10 minutes, then transfer them to a wire rack to cool completely.
Step 4: Prepare the Strawberry Filling
- In a medium bowl, toss the sliced strawberries with the sugar and lemon juice.
- Let the mixture sit for at least 30 minutes to release the juices, stirring occasionally.
Step 5: Whip the Cream
- In a chilled bowl, beat the heavy cream with a hand mixer on medium-high speed until soft peaks form.
- Gradually add the powdered sugar and vanilla extract.
- Continue whipping until stiff peaks form, being careful not to overwhip.
Step 6: Assemble the Cake
- Layer One: Place one cake layer on a serving plate. Spread a generous amount of whipped cream over the top.
- Add Strawberries: Spoon half of the macerated strawberries over the whipped cream. Let the juices soak into the cake slightly.
- Layer Two: Place the second cake layer on top. Spread whipped cream evenly over the top and sides of the cake.
Step 7: Decorate
- Arrange whole strawberries on top of the cake for a striking garnish.
- Add mint leaves or sprinkle with powdered sugar for an extra touch of elegance.
Serving Suggestions
Serve this cake slightly chilled for the best texture and flavor. Pair it with a glass of lemonade or a scoop of vanilla ice cream for an even more indulgent treat.
Tips for Success
- Strawberry Freshness: Choose ripe, vibrant strawberries for the sweetest flavor.
- Even Layers: Use a serrated knife to level the cake layers for a professional look.
- Storage: Store the assembled cake in the refrigerator for up to 2 days, but it’s best enjoyed fresh.
Conclusion
This Strawberry Shortcake Cake is the ultimate dessert for strawberry lovers. The delicate sponge, creamy frosting, and burst of fresh strawberries make it a treat to remember. With a little patience and care, you’ll have a cake that’s not only delicious but also Instagram-worthy.
Enjoy every slice!
